

Grind Size for AeroPress: Perfecting Your Brew in the UK
If you’ve just unboxed your AeroPress, welcome. You’re about to discover why this brewer is a favourite in coffee circles across the UK for its sheer versatility. But before you can get to the good stuff, there’s one variable you absolutely have to get right: the grind size.
Nail the grind, and you unlock a world of deep, nuanced flavour. Get it wrong, and you’ll be left with a cup that’s either disappointingly weak or unpleasantly bitter. This is exactly why finding a reliable starting point is so important.
Your ideal launchpad for the perfect AeroPress grind size is a medium-fine consistency. Think of the texture of common table salt. This specific grind strikes the perfect balance between brew time and flavour extraction, setting you up for a delicious, well-rounded cup from your very first press.
Your Starting Point for the Perfect AeroPress Grind
Don't just take our word for it. The UK speciality coffee scene widely agrees that a medium-fine grind is the sweet spot for the brewer's unique immersion-and-pressure method. If you're curious, you can find more insights about grind preferences from UK coffee specialists.
The goal of your first brew isn't perfection—it's to create a delicious baseline. By starting with a medium-fine grind, you establish a reference point that makes future adjustments intuitive and successful.
Why Medium-Fine Works Best
So, what makes this grind so special? Think of it as the universal sweet spot for most standard AeroPress recipes. It provides just enough surface area for the water to pull out all the good stuff—the sweetness, the acidity, the body—within a typical 1-2 minute brew time.
It’s not so coarse that your brew is watery, and not so fine that it clogs the filter or introduces harsh, bitter notes from over-extraction. It’s the happy medium that just works.
To help you get a feel for this, let’s build some intuition. Here’s a quick guide comparing our recommended starting point to other common grinds you’ll find in UK coffee culture.
AeroPress Grind Size Quick Reference Guide
This table will help you visualise where the AeroPress sweet spot sits compared to other popular brew methods and everyday textures.
| Grind Size | Texture Analogy | Typical Use in UK Coffee Culture | Suitability for AeroPress |
|---|---|---|---|
| Coarse | Rock Salt / Peppercorns | French Press, Cold Brew | Too coarse. Water passes through too quickly, leading to weak, under-extracted coffee. |
| Medium-Coarse | Coarse Sand | Cafetière, Chemex | Usually too coarse. Better for long immersion, but not ideal for a standard AeroPress recipe. |
| Medium | Granulated Sugar | Drip Coffee Makers, V60 | A good starting point for longer immersion or inverted recipes. Can be a bit weak for a standard 1-2 minute brew. |
| Medium-Fine | Table Salt | AeroPress, Moka Pot | The ideal starting point. Provides balanced extraction for most standard and inverted recipes. |
| Fine | Caster Sugar | Espresso Machines | Usually too fine. Creates too much resistance, making it hard to press and likely to produce a bitter, over-extracted cup. |
| Extra Fine | Flour / Powder | Turkish Coffee | Far too fine. Will clog the filter and make plunging nearly impossible. Avoid this completely. |
As you can see, the medium-fine grind offers that 'just right' middle ground. It’s finer than what you’d use for a cafetière but coarser than an espresso grind, giving you the best of both worlds for the AeroPress’s unique brewing style.
Why Grind Size Transforms Your Coffee's Flavour
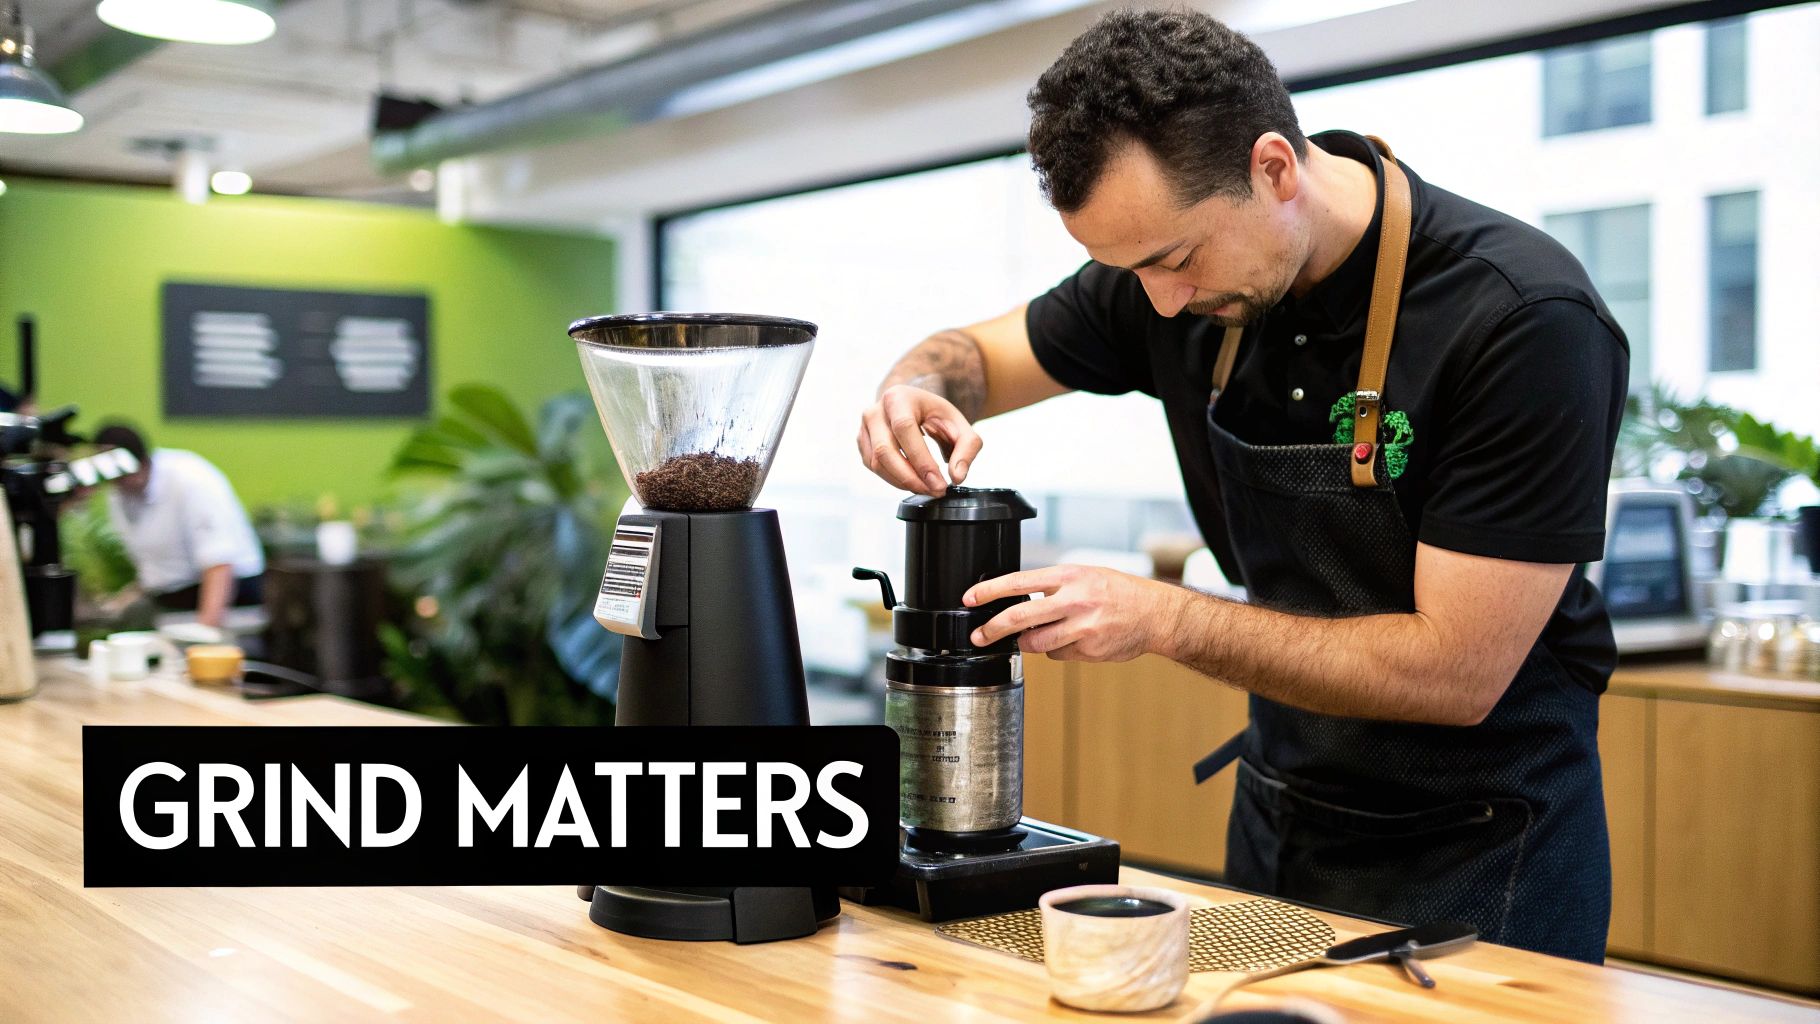
Let’s get into the magic happening inside your AeroPress. At its heart, brewing is simply a process of extraction—using water to dissolve all the delicious, soluble compounds locked inside your coffee grounds. The single most important dial you can turn in this process is grind size. It dictates how much flavour you pull out and how quickly it happens.
Think of each coffee bean as a tiny treasure chest packed with vibrant flavours. Your grinder is the key, and how you use it determines how easily you can access that treasure. The size of the ground particles directly controls the total surface area that the water can touch during the brew.
This relationship between surface area and extraction speed is what shapes the final taste in your cup. It’s the difference between a brew that sings with complexity and one that falls flat.
The Tale of Two Grinds
To really get this, let's look at the two extremes. First up, a coarse grind, where the coffee looks like chunky sea salt. These large particles have a relatively small surface area, a bit like big boulders in a river. Water flows past them quickly, struggling to get deep into the core to pull out flavour in the short time an AeroPress brew takes.
This leads to under-extraction. The water only has time to grab the most accessible, sour-tasting acids from the surface of the grounds, leaving all the deeper sweetness and complex compounds behind. The result? A cup that tastes disappointingly sour, thin, and unfinished.
On the other end of the spectrum, we have a fine grind, where the coffee looks more like caster sugar, or even flour. These tiny particles create a massive collective surface area, like a beach covered in fine sand. When water hits these grounds, it yanks out flavour compounds incredibly quickly and intensely.
This usually leads to over-extraction. The water doesn't just pull out the desirable sweet and acidic notes; it also drags out the harsh, bitter compounds that are meant to stay locked away. This gives you a brew that is astringent, bitter, and lacks any pleasant sweetness or clarity.
The secret to a balanced AeroPress brew is finding that sweet spot—the grind size that lets water extract just the right amount of flavour, not too little and not too much, within your specific brew time.
A simple way to think about it is dissolving sugar in your tea. A sugar cube (your coarse grind) dissolves slowly, while granulated sugar (a finer grind) dissolves almost instantly. Your grind size for AeroPress works in exactly the same way, helping you manage the speed of flavour release to create a perfectly balanced and delicious cup, every single time.
A Visual Guide to Calibrating Your Grinder
Getting your head around extraction theory is one thing, but actually translating that into the perfect grind for your AeroPress? That’s where the real craft begins. Terms like ‘medium-fine’ are a decent starting point, but let’s be honest, they’re a bit vague. It’s time to move from abstract ideas to real, tangible cues you can see and feel, so you can calibrate your grinder with complete confidence.
Think of it as learning to speak the language of coffee grounds. Once you train your eyes to spot the different textures, the guesswork disappears. You'll soon be able to glance at a pile of coffee and know instantly if you’re in the right ballpark for your go-to AeroPress recipe, whether you’re using a trusty manual hand grinder or a top-tier electric model.
This image lays out three key grind sizes—fine, medium, and coarse—to help you get a feel for the spectrum.
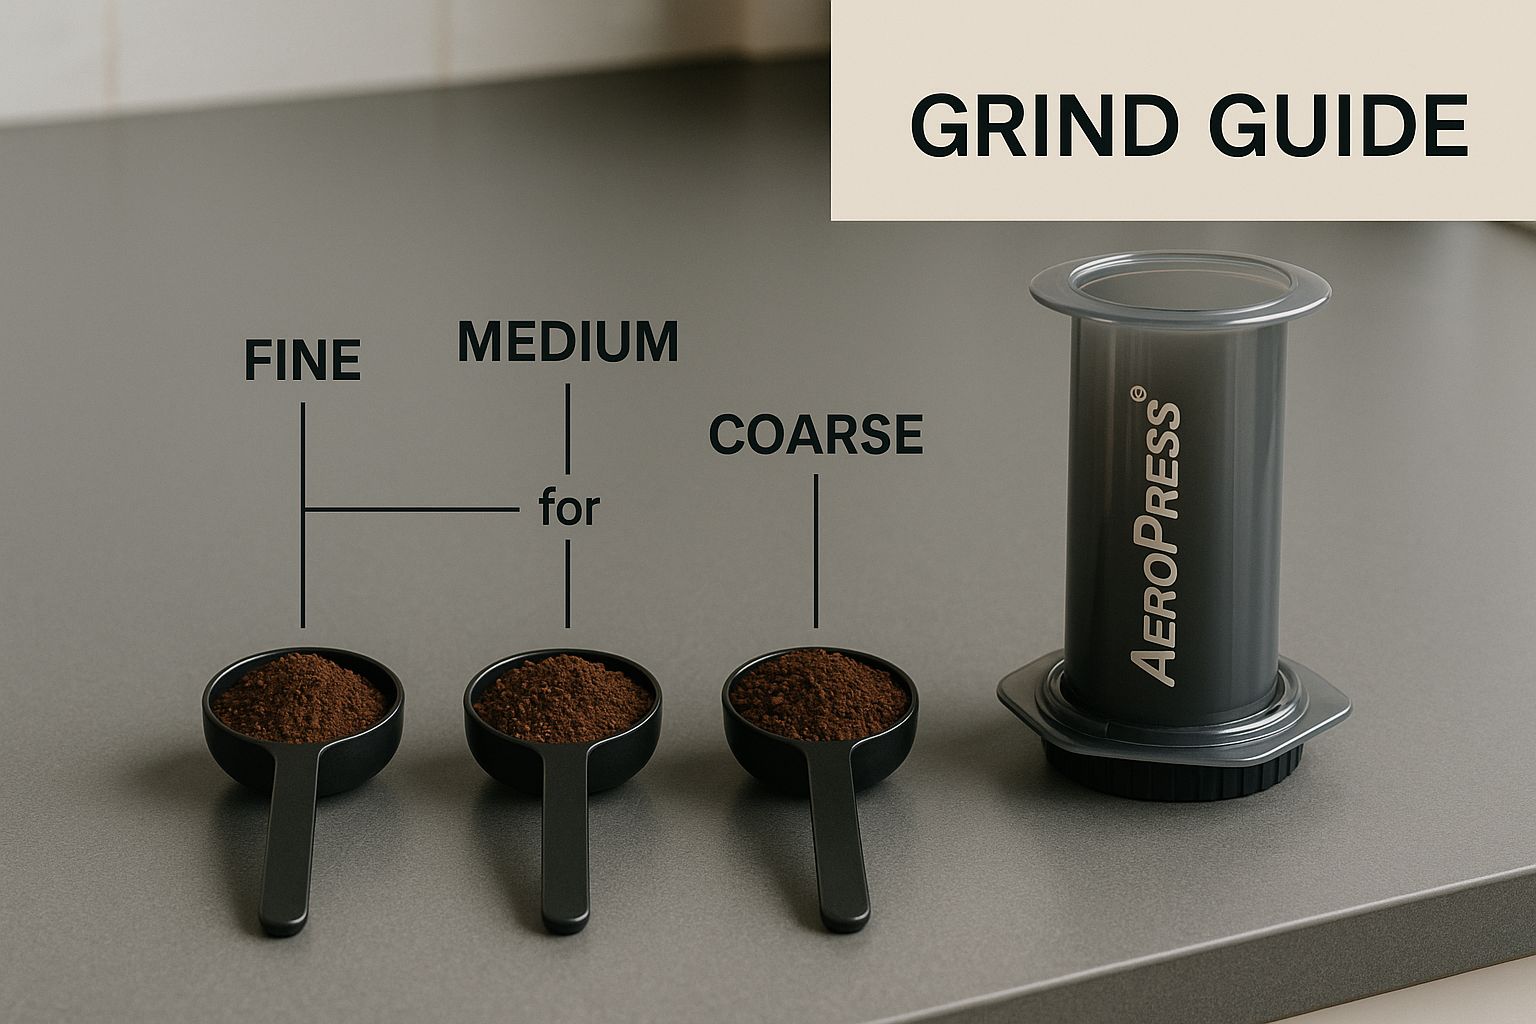
Having this visual guide helps anchor the theory, making it much simpler to match what’s coming out of your grinder with your brewing goals. Now, let’s dig into what you should be looking for, complete with some relatable analogies to help you dial things in perfectly.
Identifying Fine Grinds
When you’re aiming for a fine grind, you’re basically in espresso territory. The coffee particles should feel soft and almost powdery between your fingertips, and they’ll probably clump together a little when you press them.
- Visual Analogy: Picture the texture of caster sugar or fine sand from a Cornish beach. It’s incredibly uniform and you can’t really feel any individual grit.
- When to Use It: Honestly, this is too fine for most AeroPress recipes. The massive surface area means you’ll almost certainly over-extract the coffee, leaving you with a bitter brew and a plunger that’s a nightmare to press down. It’s really only suited for punchy, espresso-style shots with super short brew times.
On most burr grinders, you’ll find this at the lowest end of the settings. A dead giveaway? If your plunge is taking longer than 30-40 seconds with decent pressure, your grind is definitely too fine.
Mastering Medium-Fine to Medium Grinds
This is the sweet spot. For the AeroPress, this is where the magic happens and where the vast majority of recipes live. It strikes that perfect balance between surface area for extraction and a good flow rate, giving you a clean, balanced, and flavourful cup.
- Visual Analogy: The classic comparison is table salt, but granulated sugar works just as well. You can make out the individual particles, but they're small and consistent. They should flow freely without clumping.
- When to Use It: Make this your starting point for pretty much every standard and inverted AeroPress method. It’s forgiving enough for a quick one-minute brew but has enough substance for a longer, two-minute immersion.
Here at Ue Coffee Roasters, this is the kind of grind we often recommend for our filter roasts. It just has a wonderful way of showcasing a coffee’s balanced character.
Recognising Coarse Grinds
As you move coarser, the grounds become much more distinct and gritty. The particles are clearly defined, and you can see noticeable space between them.
- Visual Analogy: Think of chunky sea salt or the consistency of freshly ground peppercorns. It feels rough and a little uneven when you rub it between your fingers.
- When to Use It: A coarse grind is your friend for longer, full-immersion brews. It’s particularly useful for the inverted method where you might be steeping for over two minutes, and it's a great choice for bypass recipes or when you're playing around with larger coffee doses.
At the end of the day, your grinder is your most powerful creative tool. Use these visual markers as signposts, not as rigid rules. They're here to guide you on your journey to discovering the perfect grind size for your AeroPress, tailored to your favourite beans and your own unique taste.
How Your Brew Method Shapes Your Grind Choice
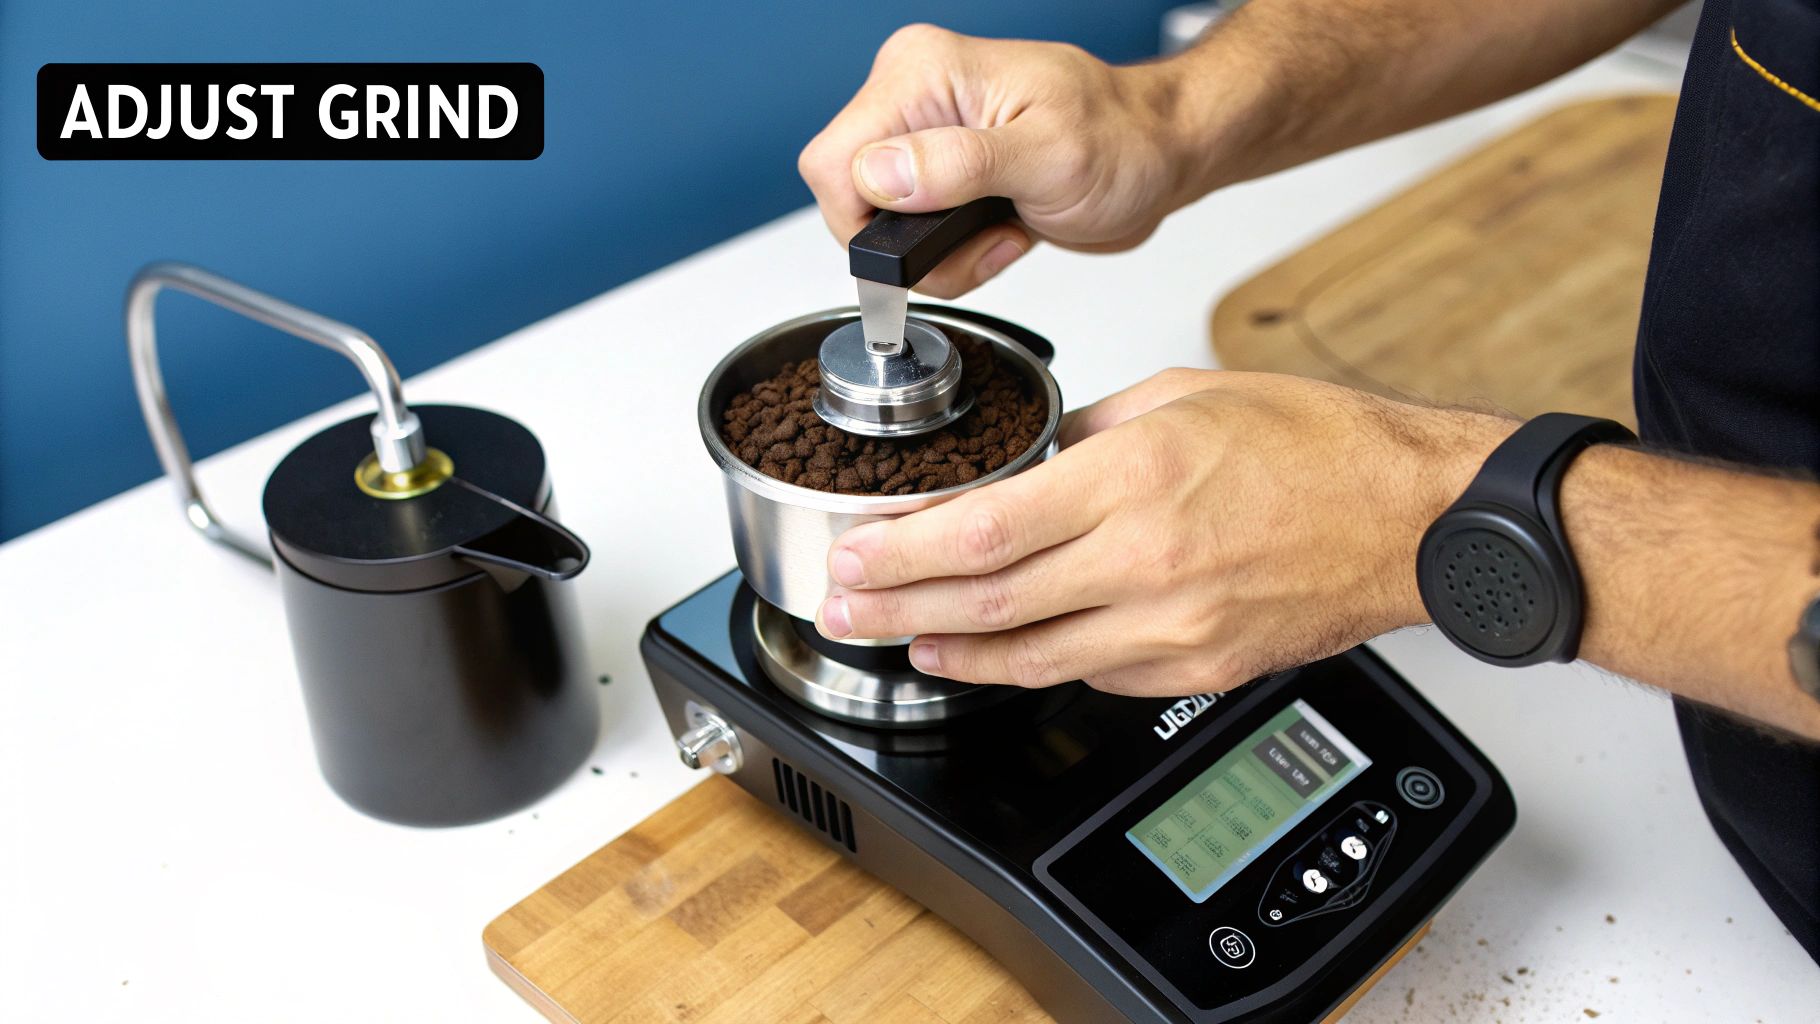
The AeroPress isn't just a coffee maker; it's a creative platform. Its legendary adaptability is what makes it so brilliant, but it also means there’s no single, perfect grind size for an AeroPress. The ideal grind is always a direct response to your chosen brew method. Every recipe tells a story, and the grind size is the first chapter.
Think of it this way: your brew method sets the rules of the game, and your grind is how you play to win. A quick, standard brew needs a completely different strategy to a slow, inverted immersion. Getting your head around this relationship is what elevates your coffee from just following instructions to truly crafting a bespoke cup.
Standard vs Inverted Methods
In the UK coffee scene, two approaches reign supreme: the standard and inverted methods. Each demands a different grind to hit that sweet spot of a balanced extraction.
-
The Standard Method: This is the classic, upright technique. You pop in the coffee, add the water, and start plunging pretty much straight away. Because the brew time is short and driven by pressure, a medium-fine grind—think table salt—is your best bet. It creates enough surface area for a quick, punchy extraction without making the plunge feel like you're wrestling a bear.
-
The Inverted Method: By flipping the AeroPress on its head, you turn it into a full-immersion brewer, stopping any coffee from dripping through before you're ready. This method is a massive favourite in UK speciality coffee shops because it lets you play with much longer steep times, often two minutes or more. For this, a slightly coarser grind, something closer to granulated sugar, is often the way to go. It stops the coffee from turning bitter and harsh during that extended brew time.
Insights from UK Champions
If you want to see this in action, just look at the competitive circuit. The UK AeroPress Championship is a goldmine of information on how the best brewers get it done. When you break down competitor recipes from recent years, you'll notice a strong trend towards the fine to medium-fine range. This shows a masterful compromise, balancing the pressure-driven plunge with just enough brew time to pull out all the best flavours.
You can even explore more experimental AeroPress techniques inspired by what's happening on the competition scene.
Your recipe is your roadmap. A long, gentle steep calls for a coarser path. A quick, high-pressure plunge demands a finer one. Matching your grind to the journey is the secret to a delicious destination.
Adjusting for Filters and Concentration
Beyond your main method, a couple of other variables will influence your grind choice, helping you become a more intuitive brewer.
One of the big ones is your filter. A standard paper filter gives you a super clean cup by trapping most of the oils and fine particles. But if you’re using a reusable metal filter, you'll want to consider a slightly coarser grind. Metal filters let more of those fines and oils through, and grinding a touch coarser helps cut down on the sediment in your cup while still giving you a lovely, full-bodied brew.
And what if you're making a concentrated, espresso-style shot to dilute with water or milk? In that case, you'll need to grind finer than usual. This ramps up the surface area, letting you extract a massive amount of flavour in a very short time with just a small amount of water. Mastering these little adjustments is the final piece of the puzzle to taking total control of your AeroPress.
Dialing In the Perfect Grind for Any Coffee Bean
"Dialing in" might sound technical, but it’s really just the art of making small, methodical tweaks to your grind to perfectly match the coffee you’re brewing. It’s about listening to what the beans are telling you.
By starting with a baseline—usually a medium-fine texture—you can begin to build a recipe around a grind size for AeroPress that truly lets each coffee’s unique origin shine.
This simple approach turns what feels like random trial and error into a clear, repeatable path towards a fantastic cup.
“Taste, tweak, repeat. This simple loop turns your palate into a precision instrument,” says one of the UK’s leading roasters.
The Step-by-Step "Taste, Tweak, Repeat" Method
First thing’s first: grab a fresh bag of beans from your favourite UK roaster and set your grinder to a medium-fine setting.
Think of the texture of table salt. This gives you a solid, reliable starting point for a standard 1–2 minute AeroPress brew.
- Brew your first cup with this baseline grind. No other changes yet.
- Take a sip and pay attention. Does it taste a little sour or thin? Or is it more bitter and harsh?
- Based on the taste, adjust your grinder just one notch finer or coarser.
- Brew again and repeat the process until the balance feels just right.
Following these steps is the fastest way to understand how the grind size for AeroPress directly impacts the final flavour in your cup.
Troubleshooting Your AeroPress Brew by Taste
When you’re dialing in, your taste buds are your best guide. This little cheat sheet will help you diagnose any off-flavours and point you toward the right adjustment.
| If Your Coffee Tastes... | The Likely Cause | How to Adjust Your Grind | Other Factors to Consider |
|---|---|---|---|
| Sour or Thin | Under-extraction | Go one notch finer | Check your water is hot enough (around 93°C) |
| Bitter or Astringent | Over-extraction | Go one notch coarser | Try reducing your brew time or stir less |
| Muddy or Heavy | Too many fines | Grind slightly coarser | Rinse your filter paper and try a 0.5g smaller dose |
Remember that every coffee is different. Just recently, I was brewing a light roast from a speciality roaster and had to go two notches finer than my usual setting to really bring out its bright berry notes.
Think of this as a rough guide to get you started:
- Single origin: Often benefits from going one notch finer to pull out that clarity and complexity.
- Blend: Your medium-fine starting point is usually a great place to stay, as it helps balance the different beans.
- Decaf: These beans can be a bit trickier to extract, so treat them like a light roast and start on the finer side.
Fine-Tuning Your Brew Based on Flavour
Once you’re in the right ballpark, you can make even smaller adjustments to really perfect your cup.
- Want a bit more bright acidity? A slightly finer grind paired with a quicker plunge can help highlight those vibrant notes.
- Looking for more body and sweetness? Try going a touch coarser and letting the coffee immerse for an extra 15 seconds.
- If the flavour feels uneven or muddled, it might be time to clean your grinder burrs to ensure you’re getting a consistent particle size.
The key is to experiment with small, single changes and take a moment to note the results. Keeping a little tasting journal can be a game-changer.
Before you know it, your palate will become your most reliable guide, helping you unlock the incredible nuance hiding in every bag of coffee. This framework gives you the confidence to turn any beans from any UK roaster into a brew that’s personally, uniquely yours.
With each little tweak, you’ll deepen your understanding and build a recipe you can rely on every single morning. Embrace the process—the journey is just as rewarding as that final, delicious sip.
Your AeroPress Grind Size Questions Answered
As you get deeper into mastering the AeroPress, a few questions always seem to pop up. Think of this section as your go-to FAQ, giving you clear, straightforward answers to help you fine-tune the details of your grind. Let’s clear up some of the most common queries we hear from brewers across the UK.
Can I Use Pre-Ground Coffee for My AeroPress?
While you technically can, it’s not going to get you a truly exceptional cup. Most pre-ground coffee you’ll find in UK supermarkets is milled for drip filter machines, which means it’s usually too coarse for a good AeroPress extraction. This often leads to a brew that tastes weak, sour, or just a bit flat.
The real problem, though, is freshness. Coffee's most vibrant, aromatic compounds are incredibly volatile and start to vanish the second the bean is ground. For the complex, nuanced flavours that make speciality coffee so special, grinding your beans fresh just before brewing is the single biggest upgrade you can make to your coffee ritual.
If you’re ever in a pinch with pre-ground, look for a "filter" or "omni" grind. You might want to try a slightly longer steep time to help compensate and pull a bit more flavour out of the grounds.
Does the Coffee Roast Level Affect My Grind Size?
Absolutely. How a coffee has been roasted has a huge impact on how it extracts, and your grind size needs to adapt accordingly. Nailing this detail is what separates a good brew from a great one.
-
Lighter Roasts: These beans are denser and less soluble. To get the best out of them, you’ll often want a slightly finer grind. This increases the surface area, helping the water extract those delicate, bright, and often complex floral or fruity notes. When you open a new bag of light-roast single origin from your favourite UK roaster, try starting one click finer than your usual setting.
-
Darker Roasts: On the other hand, darker roasts are more brittle, porous, and highly soluble. This makes them much more likely to release bitter compounds if you’re not careful. To avoid this, a slightly coarser grind is usually the way to go. It slows down the extraction, letting you pull out all that rich, chocolatey, and caramelised sweetness without the harshness.
Think of it like this: a finer grind helps you unlock the tightly-held secrets of a light roast, while a coarser grind tames the bold, upfront character of a dark roast.
Is a Burr Grinder Really Better Than a Blade Grinder?
Yes, and the difference is night and day. A burr grinder is arguably the most important piece of kit you can own for brew consistency, second only to the quality of your beans. This isn't about being a coffee snob; it’s just physics.
A blade grinder works like a blender, smashing beans with a spinning blade into a chaotic mess of dust and chunks. This inconsistency is the enemy of a good extraction. The fine dust over-extracts almost instantly, creating bitterness, while the big chunks under-extract, adding a sour taste. You’re left with a muddy, unbalanced cup.
A burr grinder, in contrast, mills the coffee between two abrasive surfaces (burrs) set to a very precise distance. This crushes the beans into uniform particles. This consistency is the secret to a clean, balanced, and—most importantly—repeatable cup of coffee.
For anyone in the UK who’s serious about improving their home coffee game, investing in a quality entry-level burr grinder is the most impactful upgrade you can possibly make. It gives you the control you need to truly explore the world of flavour your AeroPress can unlock.
At Ue Coffee Roasters, we believe that every detail matters in the pursuit of the perfect brew. From sourcing exceptional beans to providing the right advice, we're here to support your coffee journey. Explore our curated selection of coffee and brewing equipment to elevate your daily ritual. Find your next favourite coffee at Ue Coffee Roasters.