

The Ultimate Cold Brew Concentrate Recipe
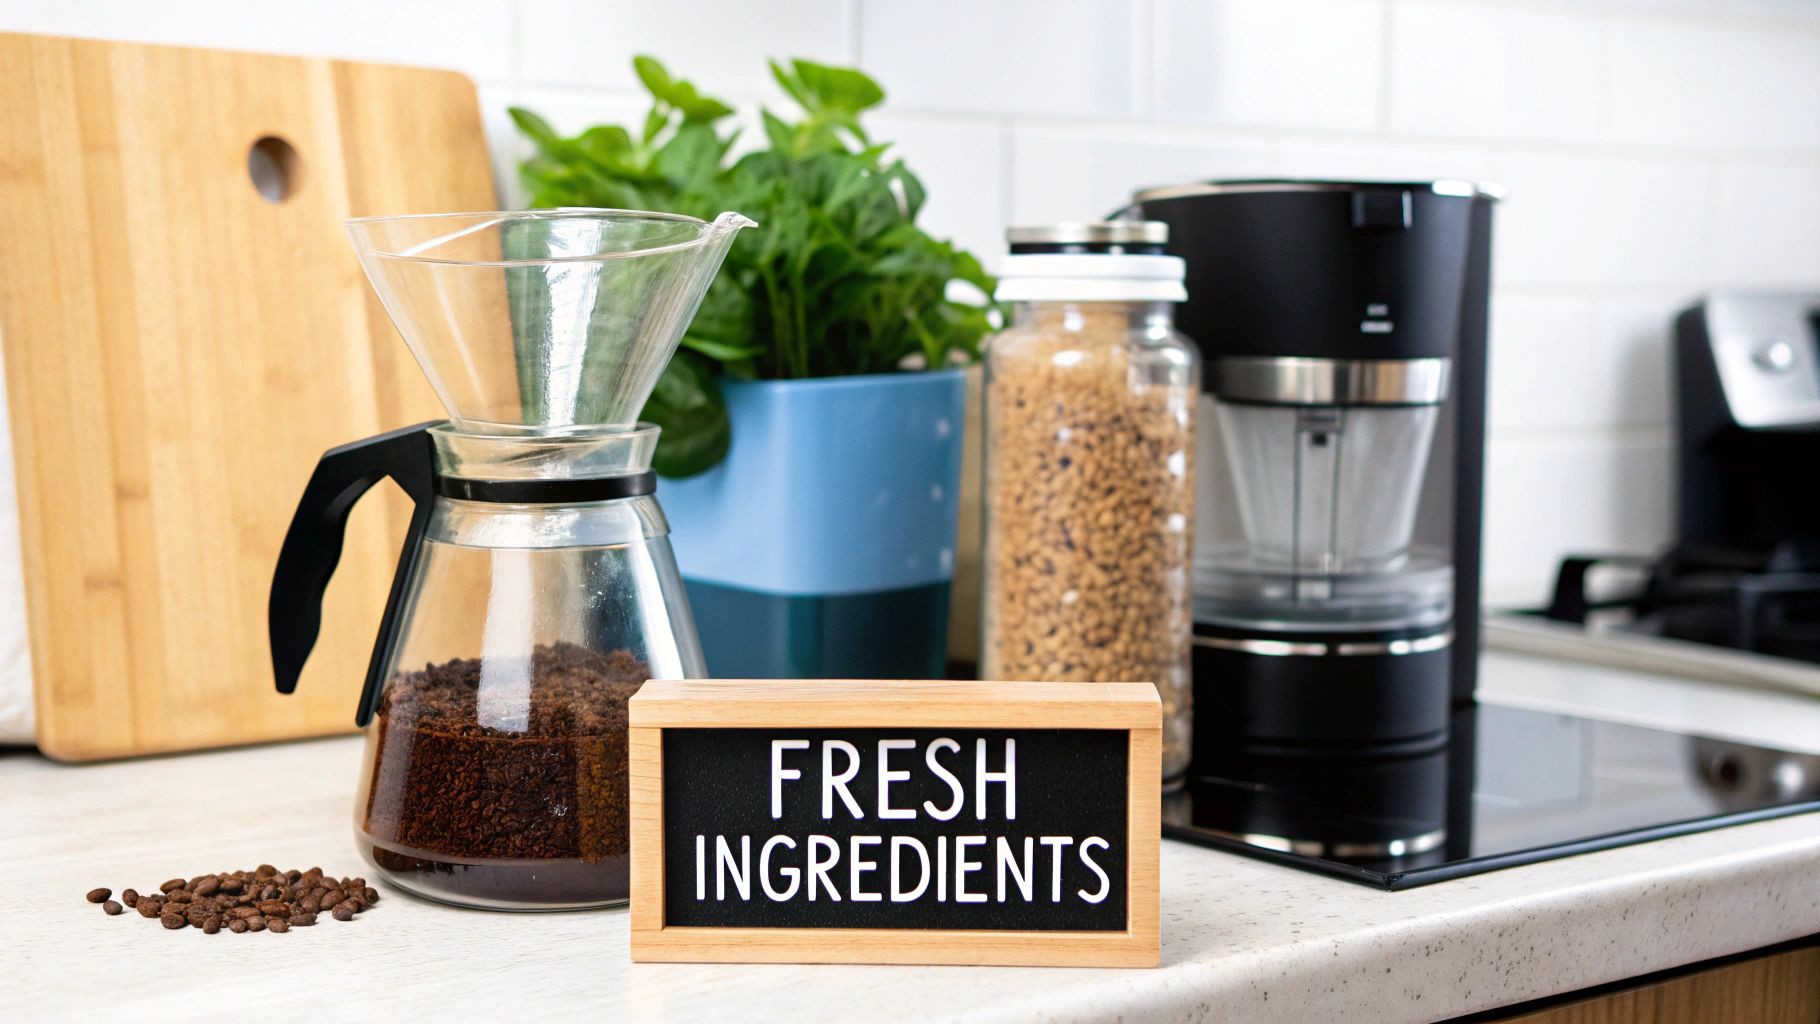
Imagine waking up to a coffee that’s incredibly smooth, naturally sweet, and completely free of any harsh bitterness. That isn't some café luxury; it's the reality of making your own cold brew concentrate at home.
This isn’t about just chilling hot coffee. We’re talking about a slow-steep method that rewards a little patience with a truly superior flavour. It’s a simple process: just combine coarsely ground coffee with cold, filtered water in a 1:4 ratio by weight, let it sit for 12-24 hours, and filter. What you're left with is a rich, versatile concentrate.
This guide will walk you through creating the perfect batch, tailored for the UK's vibrant coffee scene. It’s a method that has captivated coffee lovers across Britain, all thanks to its low-acid, rich-bodied profile. By simply swapping heat for time, you unlock a whole new dimension in your favourite beans.
Why Cold Brew is a Game Changer
So, what makes this method worth the wait? Unlike traditional brewing, which uses high temperatures to rapidly extract flavour, cold brewing is a gentle, lengthy infusion. That slow, cold extraction process fundamentally changes the coffee's chemical profile.
Fewer of the acidic and bitter-tasting oils are pulled from the grounds, resulting in a coffee that is noticeably smoother and naturally sweeter on the palate. Many people find it easier on the stomach and far less jarring than a hot-brewed espresso or filter coffee.
The result is a coffee concentrate that is not only delicious but also remarkably versatile. It’s the perfect base for everything from a simple iced coffee to more creative coffee-based cocktails.
The Rise of Cold Brew in the UK
This brewing style is no longer a niche interest—it has firmly planted itself in British coffee culture. In fact, cold brew is now available in over 300,000 retail businesses across the UK.
Market projections even show an expected compound annual growth rate of an impressive 20.60% between 2025 and 2034, all driven by our growing demand for its smoother profile. You can dig into more data on the UK's appetite for cold brew on expertmarketresearch.com.
This growth reflects a bigger shift in how we enjoy our daily cup. We're seeking higher quality, more flavourful, and customisable coffee experiences at home. Mastering your own cold brew concentrate lets you:
- Control the Strength: You decide exactly how potent your concentrate is.
- Explore Different Beans: Discover how various single origins or blends react to the cold brew process.
- Save Money: Crafting café-quality drinks at home is far more economical in the long run.
It's time to elevate your daily coffee from a routine into a ritual.
Choosing Your Beans and Your Grind
The soul of your cold brew is born from the beans you choose. A truly exceptional brew starts long before any water meets the grounds; it begins with picking a coffee that sings with the slow, gentle extraction process. This is your first creative decision and your chance to explore the incredible landscape of speciality coffee we have right here in the UK.
Think of it like this: hot brewing is a sprint, yanking flavours out with intense heat. Cold brewing is a marathon. It patiently coaxes out the deeper, inherent sweetness and body of a coffee bean over many hours. Because of this, some beans don't just work well—they truly excel.
Selecting Your Ideal Cold Brew Coffee Beans
For a classic, crowd-pleasing concentrate, medium to dark roasts are your heroes. The roasting process develops rich, soluble compounds that the cold water can easily draw out. This is what gives you those decadent notes of dark chocolate, toasted nuts, and caramel that make cold brew so satisfyingly smooth.
Single-origin coffees, especially from Central and South America, are fantastic starting points. A Brazilian bean might offer a creamy, almost peanut-butter-like body, while a Colombian can introduce a more subtle, sweet complexity. Don't be shy about experimenting—pop into your local roaster and ask what they'd recommend for a long, slow steep.
Your choice of bean sets the entire flavour direction for your cold brew. While a dark roast provides a reliable and delicious foundation, a carefully chosen medium roast can introduce brighter, more nuanced notes without ever straying into sour territory.
To help you get started, this simple guide outlines common bean profiles you'll find from UK roasters and what you can expect from them when making cold brew.
UK Bean Selection Guide for Cold Brew
| Bean Profile | Typical Roast Level | Expected Cold Brew Flavour Notes | Recommended For |
|---|---|---|---|
| Classic & Rich | Medium-Dark to Dark | Dark chocolate, roasted nuts, molasses, low acidity, full body. | A foolproof, decadent concentrate perfect for lattes or enjoying straight over ice. |
| Sweet & Balanced | Medium | Milk chocolate, caramel, gentle stone fruit, mild brightness. | A versatile brew that is smooth yet complex, great for those who enjoy a hint of fruitiness. |
| Fruity & Complex | Light-Medium | Red berries, citrus, floral notes, higher acidity. | An adventurous choice for experienced brewers chasing a vibrant, tea-like cold brew. Requires careful timing. |
Ultimately, the best bean is the one that tastes best to you. This table is just a starting point—have fun with it!
The Unwavering Importance of the Right Grind
You could have the most exquisite coffee beans in the world, but if the grind is wrong, your cold brew will be a letdown. This is, without a doubt, the most critical technical step in the entire process.
Get this right, and you are 90% of the way to a perfect concentrate.
The target is a consistently coarse grind. Think about the texture of rough breadcrumbs or coarse sea salt. This specific texture is non-negotiable for two huge reasons: extraction and filtration.
- Optimal Extraction: A coarse grind creates the ideal surface area for a slow, even extraction over 12-24 hours. Too fine, and the water will over-extract bitter, astringent compounds, leaving you with a harsh, unpleasant flavour.
- Clean Filtration: Fine particles create sludge. Simple as that. A coarse grind lets the water flow through freely when you filter, preventing clogs and ensuring you're left with a crystal-clear concentrate, not a cloudy, gritty mess.
Achieving the Perfect Coarse Grind at Home
The best way to get this done is with a burr grinder. It crushes beans between two revolving surfaces, producing a far more uniform particle size than a blade grinder, which just smashes them up inconsistently.
No grinder? No problem. Most UK speciality coffee roasters, including us at Ue Coffee Roasters, will happily grind your beans for you. Just make sure you specifically ask for a "coarse grind for cold brew or French press."
Using pre-ground supermarket coffee is really a last resort here. It's almost always ground too finely for this method and will likely have lost its freshness, leading to a flat, uninspired brew. For a truly exceptional cold brew, freshly ground beans are the only way to go. Your palate will thank you.
Finding Your Perfect Ratio and Steep Time
Right, you’ve picked your beans and nailed the coarse grind. Now we get to the fun part—the alchemy of it all. This is where you, the brewer, take control of the two variables that truly define your cold brew’s character: the coffee-to-water ratio and how long you let it steep.
Forget what you’ve read elsewhere about one-size-fits-all recipes. We’re going to give you a solid, tried-and-tested starting point, but the real magic happens when you start tweaking things to find what you love. Understanding how ratio and time work together is the key to unlocking flavours you never knew your favourite coffee held.
Mastering the Coffee to Water Ratio
The ratio is the backbone of your concentrate. It determines its strength, body, and overall punch. For a properly potent and versatile base, the speciality coffee world generally recommends a 1:4 ratio.
That’s one part coffee to four parts water, by weight. I can’t stress this enough: get your digital kitchen scales out. Measuring by volume (like with scoops) is just too inconsistent and will throw your results off every single time. Using filtered water is also a game-changer, as the water quality in many parts of the UK can affect the final taste.
Why 1:4? It creates a genuine concentrate. You get a rich, almost syrupy liquid that holds its own when you add milk, water, or even tonic, without tasting diluted. It’s the perfect launchpad for your cold brew experiments.
A 1:4 ratio by weight (for example, 200g of coffee to 800g of water) creates a powerful, flavour-packed base. This gives you total control to dilute each glass to your exact liking.
Once you’re comfortable with that starting point, you can start to play around.
- Want something a bit mellower? Try a 1:5 ratio. The result will be less intense but still full of character, ideal if you prefer a lighter iced coffee.
- Feeling adventurous? For an almost espresso-like kick, you can push it to a 1:3 ratio. This makes for an incredibly thick, powerful concentrate that’s fantastic in cocktails or for a serious caffeine hit.
The image below shows this first, crucial step in action – simply combining your grounds and water. This is where your precise ratio sets the stage for everything that follows.
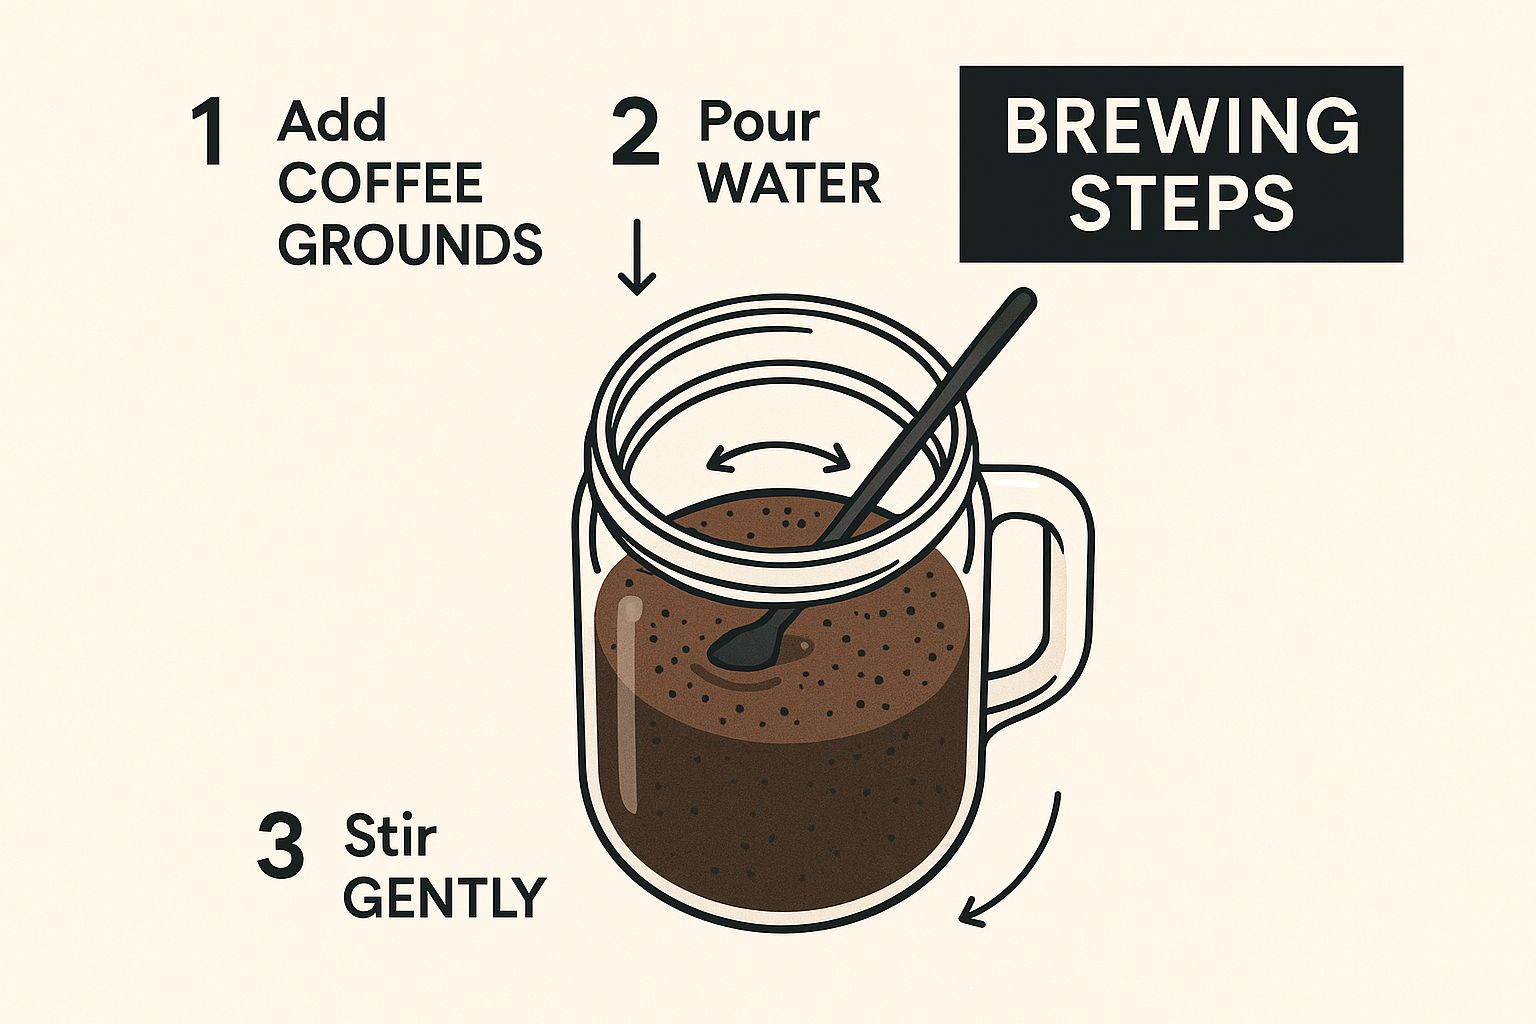
It’s all about getting that measurement right and giving it a gentle stir to make sure every single ground is ready for the long soak ahead.
The Art of Steeping Time
If the ratio sets the potential strength, steeping time is what coaxes out the flavour. The sweet spot for cold brew concentrate is anywhere between 12 and 24 hours. This isn't just a random window; it’s a spectrum of flavour possibilities.
Think of time as your control dial for flavour. A shorter steep tends to highlight the brighter, more delicate notes of the coffee. Go longer, and you start to pull out the deeper, richer, and sweeter compounds. One isn’t better than the other—it all comes down to what you’re in the mood for.
At 12 hours, you're getting the bright, fruity notes. As you push towards 20 hours, you start extracting the complex sugars and heavier oils that give cold brew its classic smooth, chocolatey finish.
Finding Your Sweet Spot on the Flavour Clock
So, where should you start? It really depends on the beans you’re using and the kind of flavours you enjoy most. Here’s a rough guide to help you decide.
| Steep Duration | Expected Flavour Profile | Best For These Beans |
|---|---|---|
| 12-14 Hours | Bright, lively, slightly acidic, with tea-like qualities. | Light-to-medium roast single origins, especially fruity or floral ones like an Ethiopian Yirgacheffe. |
| 16-18 Hours | Balanced, sweet, with notes of milk chocolate and caramel. | A great all-rounder. Perfect for versatile medium roasts, like a Colombian or a good house blend. |
| 20-24 Hours | Rich, deep, full-bodied, with notes of dark chocolate and nuts. | Medium-dark to dark roasts. Think a classic Brazilian or Sumatran, where you want maximum smoothness. |
For your first batch using our 1:4 ratio, I’d recommend aiming for 18 hours. It’s a fantastic middle ground that produces a rich, complex concentrate and gives you a brilliant baseline to adjust from.
Steeping in a UK Kitchen
Where you leave your brew to steep—on the kitchen counter or in the fridge—will also make a difference, especially with the famously unpredictable temperatures in UK homes.
Steeping at room temperature will speed up the extraction. A brew that might take 20 hours in the fridge could be perfect after 16-18 hours on the worktop. This is perfectly safe and often results in a more complex, full-bodied flavour. Just keep it out of direct sunlight.
If your kitchen is on the warmer side, or you simply prefer a cleaner, brighter taste, the fridge is your friend. The cold slows everything down, meaning you’ll need to steep it for longer (closer to the 20-24 hour mark), but it provides a very controlled environment. This is especially good for preserving the delicate notes in lighter roasts.
My advice? Start with an 18-hour steep on your counter. Give it a taste. If you love it, brilliant. Wish it was a bit richer? Add a couple of hours next time. A little too strong? Knock it back to 16 hours. This process of tasting and tweaking is the best part of making your own cold brew. You’re not just following a recipe; you’re discovering your own.
Getting That Silky-Smooth Finish
After steeping for hours, your kitchen probably smells incredible. That rich, chocolatey aroma is the promise of great cold brew, but there's one final hurdle: filtering. This is the make-or-break moment that turns a gritty, cloudy mix into a clean, professional-quality concentrate. Get this right, and you'll be rewarded with a brew that’s unbelievably smooth.
Lots of people overcomplicate this part, but you likely have everything you need already. We'll walk through a few foolproof methods, from using a cafetière to a simple jar and filter paper. The goal is the same for all of them: get the grounds out without stirring up any of that fine sediment.
Using a Cafetière (French Press)
If you have a cafetière, you’re in luck. It’s probably the cleanest and least messy way to filter your cold brew, especially if you steeped it in there to begin with. The trick here is all about patience—plunging too fast is the single biggest mistake you can make.
The process is simple enough. Once your 12-24 hour steep is done, pop the plunger on top. Now, very slowly, begin to press it down with steady, gentle pressure. This should take you at least 30-60 seconds, maybe even longer.
If you feel it start to resist, don't force it. Just pull the plunger up an inch or so to let things settle, then continue your slow descent. This stops the fine mesh filter from getting clogged and squeezing sediment around the edges. As soon as it’s fully plunged, pour the concentrate into whatever you're storing it in. Don't let it sit on the grounds, or it'll keep extracting and could turn bitter.
The Jar and Filter Paper Method
No cafetière? No problem. A big jar, a fine-mesh sieve, and a standard coffee filter paper work just as well. This method takes a bit more hands-on time but can give you an exceptionally clear brew, which is why it's a favourite for so many home brewers across the UK.
Start by setting your sieve over a clean jug. Line it with a paper filter—it helps to wet it slightly first so it stays in place. Then, slowly pour your steeped coffee through it in batches. Let gravity do its thing. It’s tempting to squeeze or press the grounds to speed it up, but that’s a sure-fire way to tear the paper and ruin your hard work.
The secret here is just letting it be. It will drain slowly, but that paper filter is brilliant at trapping all the ultra-fine particles, or 'fines', that a metal filter might miss. The result is a concentrate with amazing clarity.
Go for Gold with a Double Filter
For those of you chasing absolute perfection, double-filtering is the way to go. It’s a simple extra step that guarantees a crystal-clear concentrate with a silky mouthfeel, completely free of any grit. This is what separates a good homemade cold brew from a truly great one.
It’s exactly what it sounds like: filter it twice.
- First Pass: Do your initial filtration with whatever you're using—a cafetière, or maybe a sieve lined with a clean tea towel or a bit of muslin. This will get rid of all the big, coarse grounds.
- Second Pass: Now, take that filtered liquid and run it through a paper coffee filter. This second, finer pass will catch any tiny micro-particles that made it through the first time, polishing the brew to a flawless finish.
This might add an extra five minutes to the process, but the difference it makes is huge. The concentrate isn’t just cleaner; the flavours seem more focused and bright without any of that muddy background noise. It’s a small amount of effort for a massive payoff in your final cold brew concentrate recipe.
Storing and Serving Your Cold Brew
Right, the hard work is over. You’ve patiently steeped, carefully filtered, and now you’re the proud owner of a bottle of liquid gold. But how do you keep it tasting its best, and what can you do with it? This is where the real fun begins.
First things first: storage. To protect all those delicate flavours you worked so hard to extract, your concentrate needs to be kept in an airtight container in the fridge. A simple Kilner jar or a glass bottle with a good stopper is perfect for the job. This keeps oxygen out (which makes coffee taste stale) and stops it from picking up any stray fridge smells.
Stored properly, your cold brew concentrate will keep for up to two weeks. That said, it’s at its absolute peak in the first 7-10 days. You’ll notice the brighter, more complex notes are much more vibrant during this window.
Beyond a Splash of Milk
The real joy of having a batch of concentrate on hand is just how much you can do with it. Let's move beyond a simple iced coffee and get a bit more creative, shall we? Here in the UK, the appetite for interesting coffee drinks is huge. In fact, cold brew is the fastest-growing part of the ready-to-drink coffee market, which shows just how keen we are to experiment. You can get a sense of these evolving UK coffee preferences on mordorintelligence.com.
This is where your homemade concentrate really shines. You've got a powerful, flavour-packed base ready for just about anything.
For a classic cold brew, the go-to dilution is a 1:1 ratio of concentrate to water or milk, served over a generous amount of ice. But honestly, think of that as a starting point. Your own taste is the best guide here.
Three Ways to Enjoy Your Concentrate
Here are a few simple but brilliant ideas to get you started. They show just how versatile your concentrate can be, taking you from a morning staple to a weekend treat.
1. The Shaken Brown Sugar Latte
This is a café favourite that’s ridiculously easy to make at home. Shaking it all together creates a lovely frothy texture without needing any fancy equipment. It works beautifully with regular milk or plant-based alternatives like oat or coconut.
- In a large jar with a tight lid, dissolve two teaspoons of brown sugar in a tablespoon of hot water.
- Add 60ml of your cold brew concentrate and a good handful of ice.
- Seal the jar and shake it like you mean it for about 15 seconds, until it’s properly chilled and foamy.
- Pop the lid off and top it up with 60-80ml of your chosen milk.
2. The Refreshing Cold Brew Tonic
On a warm day, this is the ultimate coffee drink—bright, bubbly, and incredibly refreshing. The botanicals in a good quality tonic water pair surprisingly well with the rich, chocolatey notes of the cold brew.
- Fill a tall glass right to the top with ice.
- Pour 150ml of chilled tonic water over the ice.
- Slowly pour 50ml of cold brew concentrate over the back of a spoon onto the tonic. This little trick creates a stunning layered effect.
- Garnish with a twist of orange or grapefruit peel for a final flourish.
3. The Sophisticated Coffee Cocktail
For a weekend treat, your concentrate makes a fantastic base for cocktails, blending seamlessly with spirits to add real depth. An Espresso Martini is the obvious choice, but this simpler mix is just as satisfying and much quicker to whip up.
- In a cocktail shaker filled with ice, combine 50ml of vodka, 25ml of coffee liqueur, and 25ml of your cold brew concentrate.
- Shake it hard until the outside of the shaker is frosty and ice-cold.
- Strain into a chilled cocktail glass. Done.
Your Cold Brew Questions Answered

As you start making your own cold brew concentrate, a few questions are bound to pop up. Don't worry, it's all part of the process. Perfecting your technique is a journey of small tweaks and discoveries, and this section tackles the most common queries I hear.
Think of these tips as the final polish on your process. From watery results to unexpected sour notes, most issues have simple fixes that come down to the three pillars: grind, ratio, and time. Let's get them sorted.
Why Does My Cold Brew Taste Watery?
A weak or watery concentrate is a classic rookie mistake, but it almost always points to one of three things.
First, take a look at your grind. If it’s too coarse, the water just rushes past the coffee without having a chance to extract enough flavour. You should be aiming for a texture that feels like rough breadcrumbs.
Second, check your ratio. For a proper concentrate, you need a low coffee-to-water ratio like 1:4 or 1:5 by weight. If you're using something like 1:8, you’re making a brew that’s ready to drink straight away, not a concentrate.
Finally, give it more time. A minimum of 12 hours is essential, but for that truly rich, chocolatey depth, the sweet spot is closer to 18-20 hours.
A weak brew isn't a failure; it's just under-extracted. The most common culprit is simply not steeping it for long enough. Try adding another four to six hours to your next batch and taste the difference.
Can I Use Pre-Ground Coffee Beans?
While you technically can, I’d strongly advise against it if you're chasing the best flavour. The pre-ground coffee you find in most UK supermarkets is ground far too finely for a slow-steep method like this.
A fine grind leads to over-extraction, which creates a bitter, harsh taste and a silty, gritty texture in your final drink. It also produces a lot of sediment, turning the filtration stage into a muddy, frustrating mess. The signature smoothness of a great cold brew depends entirely on that slow, gentle extraction from coarse grounds.
Honestly, investing in a simple burr grinder is the single biggest upgrade you can make to your entire home brewing setup.
My Cold Brew Tastes a Bit Sour
That distinct, sharp sour taste is a classic sign of under-extraction. It happens when the water hasn't had enough contact time to pull out the sweeter, richer flavour compounds, leaving you with only the initial bright acids. Thankfully, it’s an easy fix.
- Extend the Steep: The simplest solution is to just let it brew for longer. If your last 12-hour batch tasted sour, try pushing it to 16 or 18 hours next time.
- Refine the Grind: You could also make your grind slightly finer, while still keeping it coarse overall. This increases the coffee's surface area, allowing for a more efficient extraction in the same amount of time.
At Ue Coffee Roasters, we believe the best coffee experiences start with the finest beans. Explore our curated selection of single origins and blends, all expertly roasted in the Cotswolds and perfect for your next cold brew creation. Find your new favourite at https://www.uecoffeeroasters.com.