
How to Decaffeinate Coffee at Home
Ever thought about creating that perfect, full-flavoured cup of coffee but skipping the caffeine kick? This guide is all about showing you how to decaffeinate coffee right in your own kitchen. It might sound like a complex industrial process, but we're going to break it down into a rewarding, accessible hobby. It’s about taking total control of your coffee experience.
A Smoother Brew: Your Guide to Home Decaffeination
Welcome to the subtle art of home decaffeination. This isn’t about making compromises on flavour; it’s about empowering yourself to create the perfect cup. We’ll walk through the simple science behind coaxing caffeine out of green coffee beans, sticking to clean, chemical-free methods that respect the bean’s natural character. Think of it as starting on a path to a deeper appreciation for your daily ritual.
By doing this, you're joining a growing community of coffee lovers who put taste and wellness first. In the UK, decaf is no small player—it makes up a solid 10-15% of all coffee sales. With coffee consumption on the rise, a huge chunk of that is decaf, a trend fuelled by health awareness and lifestyle shifts. You can dive deeper into UK coffee consumption trends with some of the latest reports.
Why Decaffeinate Your Own Coffee?
Taking this process into your own hands creates a unique connection to your coffee. It's a fantastic opportunity to experiment and really understand the journey from bean to cup on a much more personal level. When you decaffeinate at home, you have complete oversight from start to finish.
Here are just a few reasons why it’s such a fulfilling project:
- Total Transparency: You know exactly what’s involved—just beans and water. No mystery chemicals, no industrial solvents.
- Flavour Preservation: Home methods, when you do them carefully, can protect those delicate and unique flavour notes of your chosen beans far better than many mass-produced alternatives.
- Ultimate Freshness: You can roast your decaffeinated beans immediately after the process. This captures a peak aroma and taste that pre-packaged decaf simply can't match.
The goal here isn't just to strip out the caffeine. It's to create a bespoke coffee that fits your lifestyle perfectly, without sacrificing the quality and complexity you love. It turns your coffee routine from a simple habit into a creative pursuit.
This guide will demystify the steps and give you the confidence to get started. We'll show you that creating exceptional decaf coffee is not only possible but a seriously enjoyable extension of your passion for a great brew.
Let’s get started on crafting a smoother, more mindful coffee experience together.
Choosing the Right Green Beans for Decaffeination
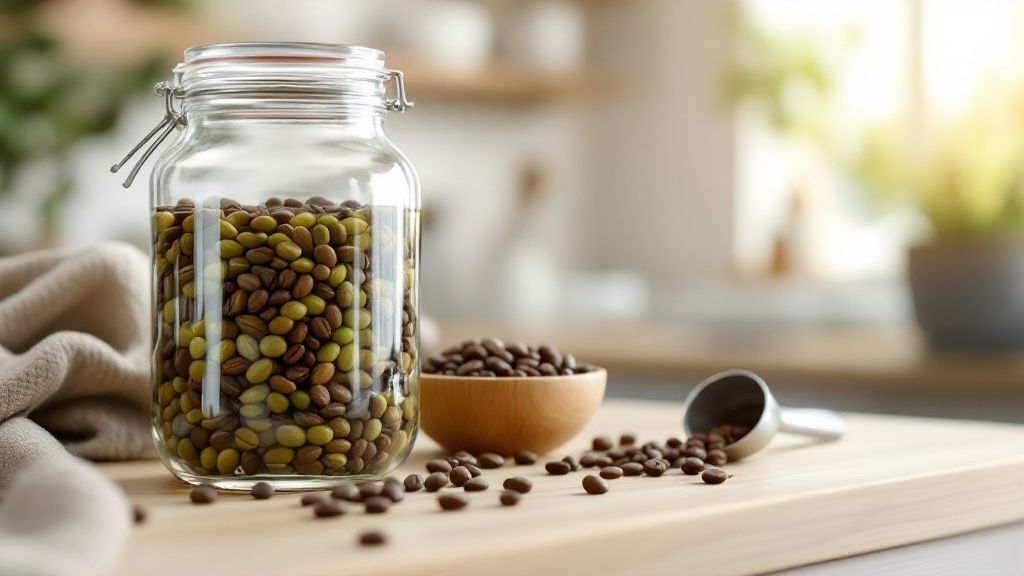
Every great cup of decaf starts with one thing: the right raw ingredient. Before you get anywhere near the decaffeination process itself, your first job is to pick out some high-quality green coffee beans. This is non-negotiable. It’s the step that sets the stage for a vibrant, flavourful brew rather than a disappointing one.
The number one rule for doing this at home is simple but crucial: you absolutely must start with unroasted, green beans. Once a bean is roasted, it undergoes a huge chemical transformation that seals in all its compounds. They become non-porous.
Green beans, on the other hand, are dense but porous, which is exactly what we need. This structure allows water to get inside and coax the caffeine molecules out. Think of it like a dry sponge, ready to soak up water and release what's held within. A roasted bean is more like a piece of glazed pottery—hard, brittle, and completely sealed off.
Understanding Bean Characteristics
The type of bean you select makes a massive difference, not just to the final flavour but also to the starting caffeine level. The two big players in the coffee world, Arabica and Robusta, couldn't be more different.
- Arabica Beans: These are known for their complex, aromatic flavours. They’re the ones that give you those nuanced, delicate notes. Crucially, they have a lower caffeine content—around 1.5% by weight—and a brighter acidity. This makes them a fantastic starting point for a flavour-forward decaf.
- Robusta Beans: As the name implies, these are tough little beans. They pack a serious punch, with caffeine levels often hitting 2.5% or even higher. While they deliver a bold, strong flavour, that extra caffeine means you have a much tougher job on your hands during decaffeination.
For your first few goes at this, I’d strongly recommend starting with a quality Arabica bean. Its lower caffeine content and more forgiving flavour profile make the whole process much more rewarding from the get-go.
Sourcing Your Green Beans
Getting your hands on good green beans is much easier than it used to be. Have a look online for speciality coffee suppliers, or ask your local roaster if they sell their beans unroasted.
When you're browsing, pay attention to the bean's origin and how it was processed. These little details give you massive clues about the flavours locked inside.
For instance, a high-altitude bean from Ethiopia might give you bright, almost floral notes. A bean from Brazil, however, will likely offer a smoother, nuttier character. Don't be afraid to try a few different origins to figure out what you like. Putting a bit of thought into sourcing isn't just a chore; it’s the first real step in creating a decaf that feels like a discovery, not a compromise. It’s an effort that pays off big time in the final cup.
The Water Process Adapted for Your Kitchen
Right, this is where the real fun begins. Let's walk through a home-friendly version of a celebrated chemical-free decaffeination process, a method famous for its ability to preserve flavour. The core idea is simple but brilliant: we’ll create a flavour-rich solution called Green Coffee Extract (GCE), and then use that liquid gold to gently pull the caffeine from a fresh batch of beans, leaving all the delicious flavour compounds right where they belong.
First developed in the 1930s, this process really took off commercially decades later. It found a loyal following among UK specialty coffee roasters from the early 2000s, just as coffee drinkers started looking for more organic, chemical-free options. The whole thing relies on just three elements: water, temperature, and time. And it’s incredibly effective, removing around 99.9% of caffeine while keeping the original flavour profile intact. You can get a sense of how much tastes have changed by looking at the UK's evolving coffee culture.
So, how do we bring this clever process into our own kitchens?
Stage One: Creating the Green Coffee Extract
The first step feels completely backwards, I’ll admit. You're going to take a batch of perfectly good green coffee beans and essentially ruin them to create the perfect decaffeination tool. Trust me, it’s all part of the plan.
Think of this initial batch of beans as a noble sacrifice. By soaking them in hot water, you’ll be stripping them of not only their caffeine but also all their soluble flavour compounds. These compounds saturate the water, creating what we call the Green Coffee Extract.
Here’s a quick visual to help you get your head around the setup.
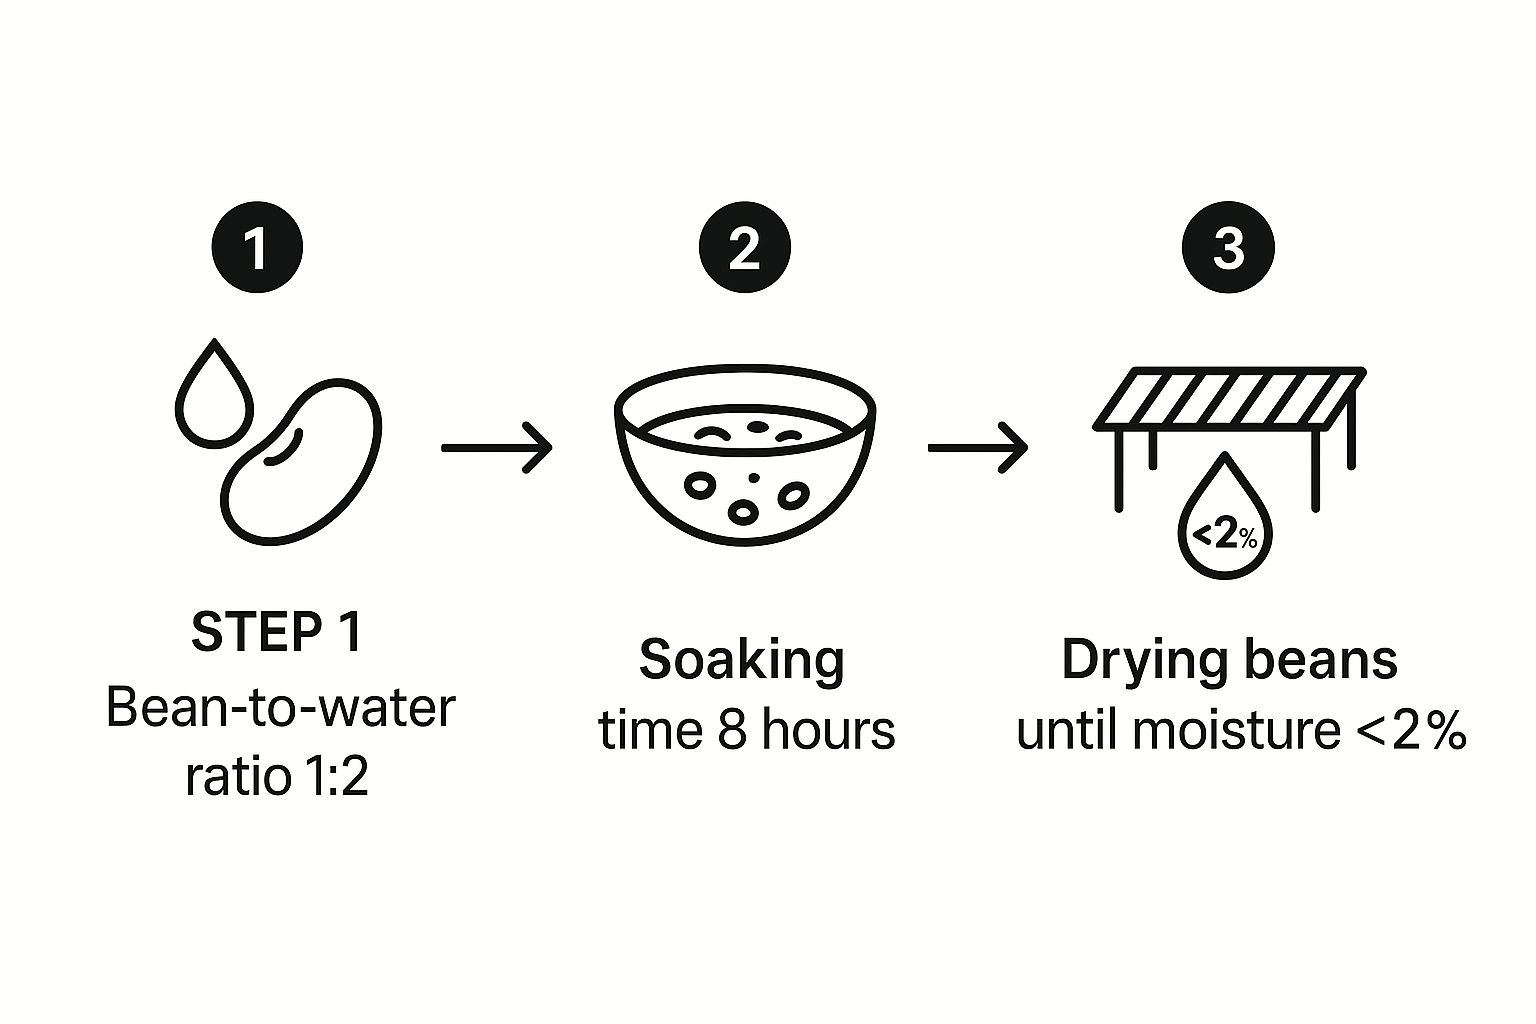
As you can see, a simple ratio and some patience are all you need to get started. The real trick is keeping that temperature steady.
To begin, you’ll need a large pot, your first batch of green beans, and some filtered water. The goal is to hold the water at a steady temperature—just below boiling, around 80-90°C—for several hours. This is the sweet spot for extracting everything from the beans. After this long soak, the water will be thick with coffee solids, but the beans themselves will be spent. Go ahead and discard them; their work is done.
What you’re left with is the heart of this entire method: a caffeine-free, flavour-charged liquid. This GCE is now perfectly primed to strip the caffeine from a new batch of beans without touching their taste.
Stage Two: The Decaffeination Soak
Now it's time for your "target" beans—the ones you actually plan to drink. Submerge this fresh batch of green beans into the GCE you just created.
Because the GCE is already fully saturated with all those lovely coffee flavour compounds (everything except caffeine), a fascinating bit of science happens. The only thing left for the water to absorb from the new beans is the caffeine. It naturally moves from an area of high concentration (the beans) to an area of low concentration (the GCE) through good old-fashioned osmosis.
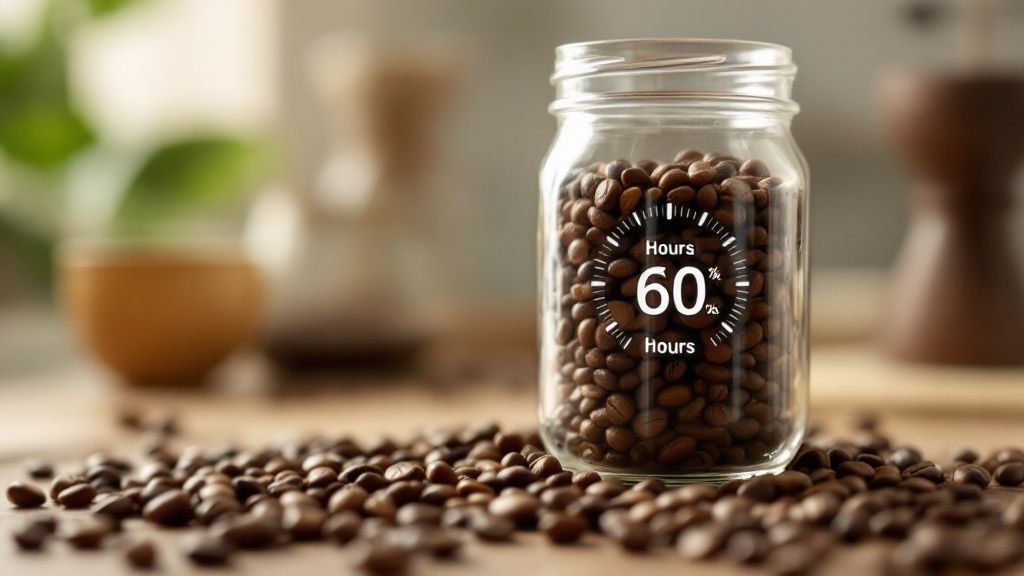
This part is gentle but it does demand patience. You’ll need to let the beans soak in the warm GCE for about 8 to 10 hours. Keeping the temperature consistent here is key, as it ensures an effective and even caffeine extraction. The best part? The flavour compounds in your new beans stay safely locked inside, simply because the GCE can't absorb any more of them.
To keep track of these stages, here’s a simplified breakdown of the process.
At-Home Water Method Steps Overview
| Stage | Objective | Approximate Time | Key Action |
|---|---|---|---|
| GCE Creation | To create a flavour-saturated, caffeine-free solution. | 4-6 hours | Soak a "sacrificial" batch of green beans in hot water (80-90°C). |
| Decaffeination | To remove caffeine from the target beans using the GCE. | 8-10 hours | Soak your main batch of green beans in the warm GCE. |
| Drying | To reduce the beans' moisture content back to a stable level for roasting. | 2-4 hours | Air-dry, then use a low-temperature oven (around 50°C) until dry. |
Following these key steps will help you move from one stage to the next with confidence, ensuring your beans are perfectly prepped for roasting.
Stage Three: Drying and Preparing for Roasting
Once the soak is done, drain the beans. They are now largely decaffeinated, but they’re also waterlogged and need to be dried carefully before you can even think about roasting them.
This is a critical step that requires a delicate touch. You need to get their moisture content back down to a stable level, typically below 11%, which is similar to where they were before you started this whole adventure.
Here's how I like to do it:
- Initial Air-Drying: Spread the beans in a single layer on a clean tea towel or a mesh screen. Let them air-dry for an hour or two. This gets rid of the excess surface moisture.
- Low-Temperature Oven Drying: For more control, pop them on a baking sheet in an oven set to its lowest possible temperature (around 50°C is perfect). Leave the oven door slightly ajar to let the moisture escape. Give them a stir every so often to make sure they dry evenly.
You'll know the drying is complete when the beans feel hard and dry to the touch and have returned to a colour similar to their original green state. Don't rush this stage; being impatient here can lead to uneven, disappointing roasting later.
Once they're fully dried, your beans are finally ready for their final transformation into a beautiful, flavourful, and personally crafted decaf coffee.
An Adventurous CO2 Method With Dry Ice
For the coffee lover who sees their kitchen as part science lab, this method is for you. We’re about to dive into a DIY technique inspired by the high-tech commercial CO2 decaffeination process. While we can't replicate the immense "supercritical" pressures used by the pros, we can borrow the core principle using things you can actually get your hands on: mainly dry ice and a sturdy, pressure-capable container.
This process feels like a fun experiment because, in many ways, it is. The science behind it is pretty fascinating. When carbon dioxide (CO2) is pressurised, it acts like a selective magnet for caffeine molecules, with a unique ability to bond with and draw out the caffeine while leaving the larger flavour molecules behind in the bean.
The Science Behind CO2 and Caffeine
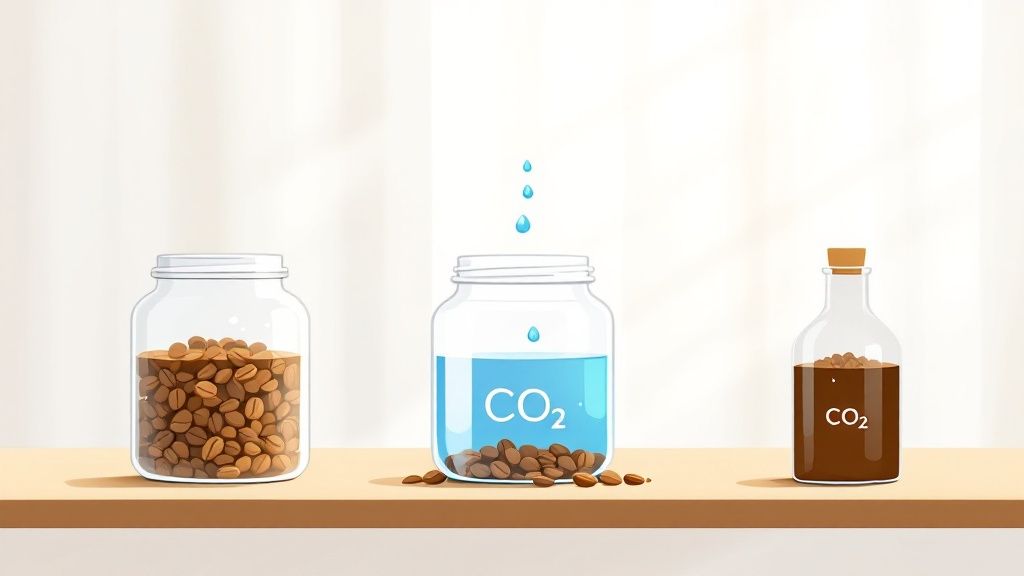
At its heart, this method is all about creating a controlled, pressurised CO2 environment. You’ll start by soaking your green coffee beans in water, which makes them swell up and opens their porous structure. This is a crucial first step, as it makes the caffeine molecules accessible.
From there, you'll introduce dry ice into the container with the damp beans. As the dry ice—which is just solid CO2—warms up, it sublimates, turning directly into a gas. In a sealed, pressure-rated container, this gas builds up pressure and becomes a dense fluid that washes over the beans. It’s this pressurised CO2 that does the heavy lifting, pulling the caffeine away without any harsh chemicals.
This hands-on approach offers a unique way to gently coax the caffeine from your beans. It's a testament to how clever chemistry can be used to preserve the delicate and delicious essence of your coffee.
Meticulous Safety Is Essential
Before we go any further, a serious note on safety. This is not a casual kitchen experiment; it requires real respect for the materials and the process. Handling dry ice and managing pressure are tasks that demand your full attention and proper precautions.
- Handle Dry Ice with Care: Dry ice is extremely cold (-78.5°C) and can cause severe frostbite if it touches your skin. Always wear thick, insulated gloves and safety goggles when handling it.
- Use the Right Container: This is non-negotiable. You must use a container specifically designed and rated to handle significant pressure, like a stainless steel pressure fermenter used in homebrewing. Never, ever use a standard glass jar, sealed plastic tub, or any container not built for this purpose. It could rupture dangerously.
- Ensure Proper Ventilation: As dry ice sublimates, it releases CO2 gas. In a poorly ventilated space, this can displace oxygen and become a suffocation risk. Always do this in a well-ventilated area—ideally outdoors or in a garage with the door open.
The Decaffeination Process
With those safety measures firmly in place, let's get to the steps. You’ll kick things off by soaking your green beans for about an hour to get them hydrated. After draining them thoroughly, you'll place them in your pressure-rated vessel.
Next, carefully add a measured amount of dry ice—a little goes a long way. Seal the container and let the magic happen. The pressure will build as the dry ice turns to gas, and you'll need to monitor it with the container's pressure gauge, periodically releasing any excess to stay within safe limits.
After several hours under pressure, you can safely depressurise the container and retrieve your beans. Just like with the water process, they'll be damp and will need to be dried carefully before they are ready for roasting. This unique approach is an exciting challenge that rewards the careful and curious home coffee enthusiast.
Roasting Your Beans to Perfection
Right, you’ve coaxed the caffeine out of your beans. The hard part is over. Now for the magic: unlocking all those incredible, aromatic flavours locked inside. Roasting is where your green beans finally become coffee, and doing it yourself turns this whole project into a truly handcrafted experience.
Keep in mind that the decaffeination journey changes the bean’s physical structure. After being soaked and dried, they have a completely different density and moisture content than standard green beans. This is crucial because it means they'll behave a bit differently once the heat hits them.
The biggest difference you'll notice? Decaffeinated beans tend to brown much faster than their caffeinated cousins. You'll need to keep a very close eye on them, as the visual cues you might be used to will show up sooner. Stay sharp!
Your Home Roasting Setup
You absolutely do not need a professional, drum-roasting behemoth to get a brilliant result at home. The beauty of this is its accessibility; you probably already have the perfect tool sitting in your kitchen.
- Dedicated Home Roaster: This is your best bet for control. You can dial in the temperature and airflow, which means you’ll get super consistent results every time.
- Popcorn Popper: An air popper (the kind without oil) is a surprisingly effective and popular choice for small batches. The constant whirlwind of hot air roasts the beans incredibly evenly.
- Skillet or Wok: This is the most hands-on, old-school method. Just grab a heavy-bottomed pan and get it on the hob. The trick here is to stir constantly to get an even colour.
Whichever method you choose, the goal is the same: apply consistent heat and keep those beans moving. This is what prevents scorching and ensures every single bean develops its full flavour potential.
Tuning Into Your Senses
This part of the process is all about trusting your senses. Forget setting rigid timers. Your eyes, ears, and nose are the best guides you have for hitting that perfect roast level.
The most exciting milestone is the ‘first crack’ – an audible popping sound, a lot like popcorn starting to go. This is your signal that you’ve officially hit a light roast. From here, the beans will continue to darken as their sugars caramelise, and the aromas will shift from grassy and raw to sweet, toasty, and wonderful.
Listen for the sounds to change, watch the colour shift from a light cinnamon to a rich chocolate brown, and breathe in that developing fragrance. Pulling the beans off the heat at just the right moment is how you define your signature flavour. Whether you're after a bright, acidic light roast or a bold, smoky dark one, the control is completely in your hands. This is the moment your beans finally become your coffee.
Your Questions Answered: Home Decaffeination Demystified
Dipping your toes into home decaffeination is a fantastic way to take control of your coffee experience. But like any new craft, it’s bound to raise a few questions. Let's tackle some of the most common ones so you can move forward with confidence.
How Much Caffeine Is Really Removed?
This is the big one. While home methods won't quite hit the certified 99.9% removal rate of industrial processes, you can get remarkably close. A well-managed water soak, with careful attention to your timings and temperatures, can strip out a significant amount of caffeine—often somewhere between 80% and 95%.
Think of it as a skill that gets better with every batch. Each attempt is a chance to refine your technique and find what works best for your beans and your taste.
Will My Decaffeinated Coffee Taste Different?
Yes, it will—and that’s where things get interesting! The whole point is to remove the caffeine while keeping the bean's unique character intact. You might notice some subtle shifts in flavour, often leading to a smoother, less bitter cup with a beautifully rounded profile.
The final taste is heavily influenced by your roasting skill. This is your chance to shine, transforming the beans you've so carefully prepared into a truly exceptional brew that reflects your personal touch.
The journey doesn't end when the caffeine is gone. It's really just the start of creating a brew that’s uniquely yours.
Can I Reuse The First Batch Of Beans?
In the water process, that first "sacrificial" batch is used to create a flavour-rich solution called Green Coffee Extract. By the end of it, these beans have had nearly all their soluble goodness stripped away. You could technically roast them, but the result would be disappointingly thin and bland.
Their real job is to enrich the water, creating the perfect medium to decaffeinate the next batch of beans without robbing them of their flavour. Consider them the unsung heroes of your decaf adventure.
Is The Dry Ice CO2 Method Safe?
This method can be done safely, but it demands absolute respect for the materials and strict adherence to safety protocols. It’s not something to be taken lightly.
- Always wear protective gloves and eyewear when handling dry ice.
- Use a container specifically rated to handle high pressure—a standard jar is a definite no-go.
- Make sure you’re working in a well-ventilated space to prevent CO2 from building up.
If you have any doubts at all, the water-based method is a wonderfully effective and much less hazardous alternative for getting started with decaffeinating coffee at home.
At Ue Coffee Roasters, we understand the passion that goes into a perfect cup. While you explore the craft of home decaffeination, let us bring barista-quality refreshment to your workplace with our premium coffee and refreshment solutions. Discover how we can elevate your office experience.