

How to Steamed Milk Your Guide to Perfect Microfoam
Knowing how to steam milk is the secret to transforming a good coffee into an unforgettable one. It's the skill that takes a simple drink and turns it into a silky, velvety, café-quality masterpiece, completely elevating your office coffee break.
The Secret to Great Office Coffee Is in the Milk
A truly fantastic coffee can change the rhythm of a workday. It turns a routine pause into a moment of genuine pleasure, and mastering the art of steaming milk is your ticket there. This is about moving beyond flat, bubbly milk to create that luscious microfoam that really defines a premium drink.
It’s the difference between a coffee that's just functional and one that's genuinely inspiring.

This skill isn't just for professional baristas anymore. Modern bean-to-cup machines make getting consistent, beautiful results accessible to everyone in the office. This guide will demystify the entire process, exploring the simple science behind getting the temperature and texture just right.
The real magic happens when you realise that creating a drink you're proud of is achievable. It’s about more than just caffeine; it's about crafting an experience that boosts morale and makes the office a more enjoyable place to be.
Why Perfect Milk Matters in the Workplace
Let's be honest, providing excellent coffee is no longer just a perk; it's an expectation. The UK's workplace coffee culture is booming, with a staggering 98% of UK employers stating that good coffee is essential for staff wellbeing. You can learn more about these coffee statistics and their impact.
Great coffee fosters connection, boosts productivity, and shows you genuinely appreciate your team. This guide will empower you with the knowledge to:
- Understand the fundamentals of creating that perfect microfoam.
- Elevate everyday drinks like lattes and cappuccinos.
- Build confidence using both manual and automatic steam wands.
Forget settling for average. You're about to learn how to make your workplace the go-to spot for an incredible cup of coffee, one perfectly steamed milk at a time.
Choosing the Right Milk for Steaming
Your journey to that perfect, glossy microfoam starts way before you even touch the steam wand. The real secret to getting that silky, velvety texture actually lies in the milk you choose. It’s the one thing that can take your coffee from just ‘good’ to genuinely exceptional.
Think of it as the foundation. Just like a chef picks the best ingredients, the quality of your milk directly sets the stage for the final drink.
The Classic Choice: Dairy Milk
When it comes to creating that dense, stable microfoam we all crave, whole milk is the undisputed champion. It's not magic, just simple science: it has the perfect balance of fats and proteins.
The fats are what give the drink that rich, creamy mouthfeel, while the proteins are the real architects of the foam, creating the structure that traps all those tiny air bubbles.
You can absolutely steam skimmed or semi-skimmed milk, but you’ll find they tend to produce a much lighter, more delicate foam that vanishes pretty quickly. For a truly luxurious latte or a proper, robust cappuccino, the higher fat content in whole milk is just more forgiving and gives you a much better canvas to work with.
The proteins in milk are what allow it to stretch and hold air, creating that lovely microfoam. Fats add to the creamy texture and flavour. Whole milk, with roughly 3.5% fat, hits the sweet spot for both structure and taste, which is why it's the go-to for most baristas.
Exploring Plant-Based Alternatives
In any modern office, catering to different dietary needs is just part of the deal. Thankfully, the world of plant-based milks has exploded, and many of them steam beautifully if you know what you're working with.
- Oat Milk: This is a fantastic all-rounder. It has a wonderfully creamy texture and a pretty neutral flavour that doesn’t fight with the coffee. It steams a lot like dairy milk, making it easy to get a stable, smooth microfoam.
- Soya Milk: A long-standing favourite for a reason. Soya milk is high in protein, which helps it create a really thick, dense foam. It can have a distinct flavour, though, so it really comes down to personal taste.
- Almond Milk: Steaming almond milk can be a bit trickier. It’s naturally lower in both protein and fat, so it often produces a lighter foam. The brand you choose can make a huge difference here.
The Rise of Barista Blends
If you want consistently great results with non-dairy milks, keep an eye out for "barista blend" or "barista edition" versions. These have been specifically formulated for coffee, often with added proteins or stabilisers to help them perform under the heat and pressure of a steam wand.
Essentially, they're designed to mimic the properties of whole milk, making it much easier to achieve that glossy microfoam that’s perfect for pouring latte art.
Once you’ve picked your milk, proper storage is just as important. Following safe food storage practices for milk ensures every cup you make is as fresh and delicious as it should be. And here's the one non-negotiable rule for success, no matter what milk you use: always, always start with cold, fresh milk straight from the fridge.
Your Guide to Steaming Milk Like a Pro
This is where the magic really happens. Transforming cold, liquid milk into a silky, velvety microfoam is what separates a good coffee from a truly great one. It’s a process of two distinct but connected phases: first, we aerate to introduce air, and then we emulsify to create that perfect, glossy texture.
Whether you're using a manual steam wand on a traditional espresso machine or a modern bean-to-cup powerhouse, mastering these steps will completely change your coffee game. It's about turning what seems like a complex skill into a simple, repeatable ritual.
This visual guide shows the main paths you can take when selecting your milk, setting you up for steaming success from the get-go.
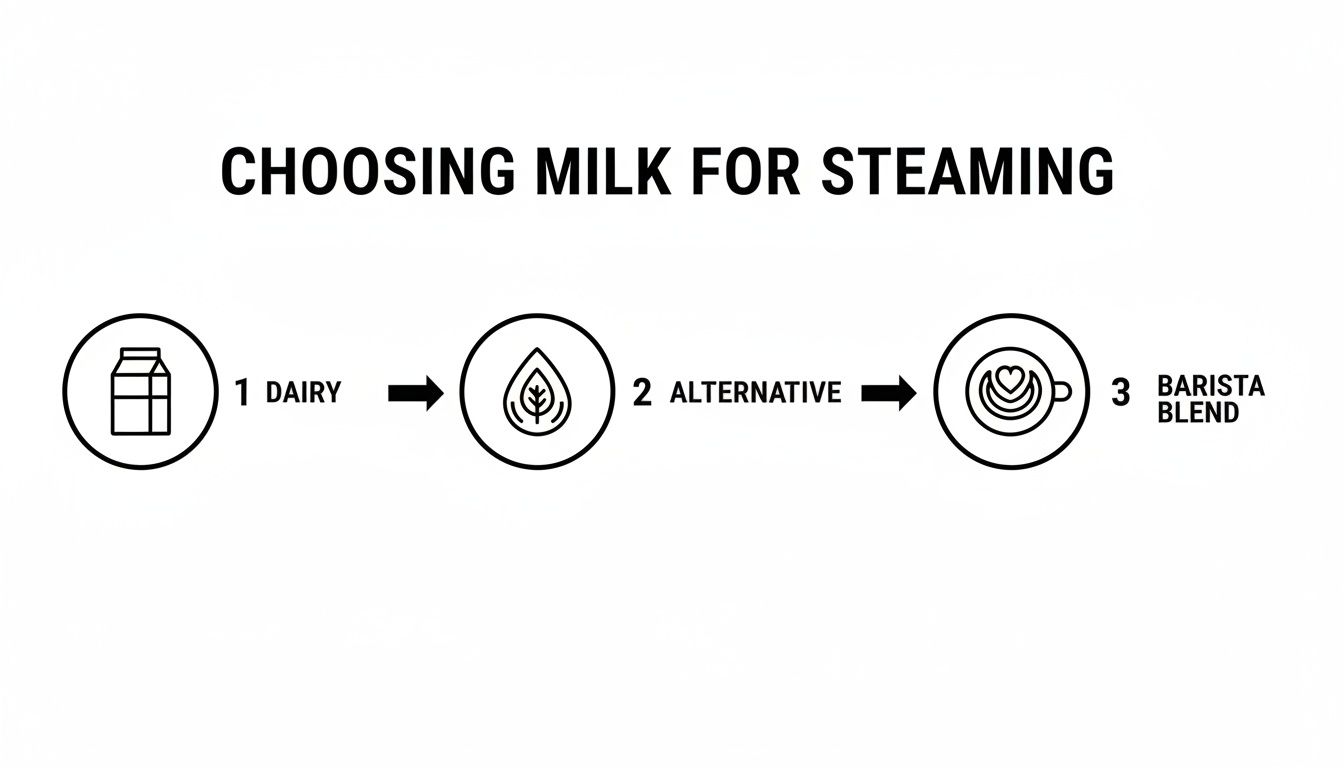
While dairy has always been a reliable starting point, the rise of barista-specific alternative milks means you no longer have to compromise on texture or quality.
The Two Phases of Steaming
Think of steaming milk as a two-act play. The first act is all about adding air, and the second is about refining the texture into that silky finish we’re all after.
Act 1: Aeration (Stretching)
This is where you introduce air to increase the milk's volume. If you're using a manual wand, you'll want the tip sitting just below the surface of the milk. You're aiming for a gentle, consistent sound—baristas often describe it as 'tearing paper' or 'sizzling bacon'. That’s the sound of air being incorporated correctly.
This phase is quick and needs to happen before the milk gets too warm, ideally before it hits body temperature (around 37°C). Too much aeration creates stiff, bubbly foam, while too little leaves the milk thin and watery.
Act 2: Emulsifying (Texturing)
Once you've added enough air, you submerge the steam wand deeper into the milk. This stops the aeration and kicks off the texturing phase. The goal here is to create a vortex—a swirling whirlpool motion in your pitcher. This whirlpool is essential for breaking down larger air bubbles into tiny microbubbles, creating a smooth, integrated texture.
A successful vortex is crucial. It ensures the foam and liquid milk are perfectly combined, resulting in a glossy, paint-like finish that's essential for both latte art and a luxurious mouthfeel.
Mastering the Manual Steam Wand
Using a manual steam wand gives you total control. It lets you fine-tune the texture for any drink you can imagine, from a fluffy cappuccino to a silky-smooth flat white.
Your setup is key. Start by filling your metal pitcher with cold milk to just below the base of the spout. Angle the pitcher slightly and position the steam wand off-centre. This angle helps create that all-important vortex needed for emulsifying.
Here’s a practical breakdown:
- Purge the Wand: Always start with a quick blast of steam to clear out any condensed water.
- Position and Aerate: Submerge the tip just below the milk's surface and turn the steam on fully. Gently lower the pitcher until you hear that gentle hissing sound.
- Submerge and Emulsify: Once the milk has expanded by about 20-30%, raise the pitcher to submerge the wand fully. Now, just focus on creating and maintaining that smooth, silent vortex.
- Monitor the Temperature: Keep one hand on the side of the pitcher. When it becomes too hot to comfortably hold for more than a second, your milk is ready.
Using Automated Frothers and Systems
High-quality bean-to-cup machines simplify this process immensely. These systems are designed for consistency, allowing you to select your desired foam level at the touch of a button. For a latte, choose a setting for finer foam; for a cappuccino, you can select a thicker, airier option. It’s that easy.
While a proper steam wand is ideal for creating true microfoam, you can also achieve excellent results at home with a good handheld frother for lattes.
No matter the method, temperature is your most important guide. The sweet spot for perfectly steamed milk is between 60-65°C. If you go much hotter, you risk scalding the milk, which kills its natural sweetness and creates an unpleasant, burnt flavour. Aim for perfection, not scorching heat.
Troubleshooting Common Milk Steaming Problems
Even with the best technique, some days the milk just won’t play ball. Don't get discouraged. Think of every mistake as a stepping stone to mastering the art of how to steamed milk a little better. This guide will help you spot and fix the most common issues, turning frustration into perfectly textured foam.
Before you know it, you'll be diagnosing problems on the fly and making tiny adjustments to ensure every single cup is consistently brilliant.
Foam That Looks Like a Bubble Bath
One of the most common pitfalls is creating foam that’s all big, airy bubbles. Instead of silky microfoam, you get a stiff, dry froth that just sits on top of the coffee like a rigid island.
This is a classic sign of introducing too much air, or aerating for too long. You've essentially overstretched the milk, creating large, unstable bubbles that lack that luxurious, velvety texture we’re all chasing.
The fix is surprisingly simple: just shorten the aeration phase. Listen for that gentle "tearing paper" sound for only a few seconds at the start, then dip the steam wand deeper into the milk. The goal is to add just enough air to create volume, then spend the rest of the time spinning that milk into a perfect vortex to break down any large bubbles.
Milk That Stays Thin and Lifeless
On the flip side, you might end up with milk that’s hot but has no real body or texture. It pours like water and adds no creaminess, leaving you with a flat, disappointing latte.
This is the exact opposite problem—you haven’t introduced enough air. You’ve likely submerged the steam wand too deeply right from the start, which only heats the milk without incorporating the air needed to build foam.
To fix this, make sure the tip of the steam wand is just below the surface for the first few seconds. You need to hear that gentle hiss. If it’s silent, you're not adding air. And as you know, no air means no foam.
A great cup of coffee can completely change the mood in an office. With around 25% of UK coffee consumption happening at work, getting the milk right is more important than ever. It's a small detail that makes a huge difference. You can find more insights into UK coffee habits on lavazzapro.co.uk.
Other Common Steaming Glitches
Beyond foam texture, a couple of other problems can pop up. Knowing what to look for is key to getting consistently delicious results every time.
To make things easier, here’s a quick reference table for identifying and fixing those pesky issues that can ruin a perfectly good coffee.
Milk Steaming Troubleshooting Guide
| Problem | Likely Cause | How to Fix It |
|---|---|---|
| Burnt or Scalded Flavour | The milk has been overheated, destroying its natural sugars. | Keep an eye on the temperature. The sweet spot is 60-65°C. Once the pitcher is too hot to touch, it’s done. |
| Milk Separating Quickly | The milk wasn't mixed enough during steaming, or it sat too long before pouring. | Maintain a strong vortex throughout the texturing phase. Pour immediately after steaming to keep it integrated. |
| Bubble Bath Foam | Too much air was introduced (over-aeration). | Shorten the aeration time. Dip the wand deeper into the milk after just a few seconds of hissing. |
| Thin, Watery Milk | Not enough air was introduced (under-aeration). | Keep the wand tip just below the surface at the start until you hear a consistent hiss. |
Once you learn to spot these common culprits, you'll find your rhythm and consistency will improve dramatically. Happy steaming
Essential Cleaning for Better Tasting Coffee
You can master the art of steaming milk, but the real secret to getting that delicious, sweet flavour every single time isn't just about technique. It's about how clean you keep your gear.
A clean machine is the foundation for any great cup of coffee. It guarantees the only thing you taste is rich espresso and velvety milk, not the ghosts of coffees past. Skip this step, and you’ll get a build-up of residue that ruins the taste and isn't exactly hygienic.
Think of it as the final, non-negotiable step in your coffee-making ritual.

This commitment to cleanliness is even more critical in a shared office. As workplace coffee expectations have risen, keeping the equipment in top shape ensures every team member gets a premium experience. In fact, coffee culture at work is a bigger deal than ever, as you can see from these UK coffee consumption statistics on balancecoffee.co.uk. A well-maintained machine doesn't just brew better coffee; it creates a much more pleasant and safer space for the whole team.
The Daily Cleaning Ritual
Getting into a simple daily routine is the best way to stop milk residue from becoming a baked-on, stubborn problem. This isn’t about a deep-clean every day, but small, consistent habits that make all the difference.
The most important one? Purging and wiping the steam wand immediately after every single use. Milk proteins start to cook onto the hot metal instantly. If you leave it, you're looking at clogged steam tips and a breeding ground for bacteria.
Here’s a simple but incredibly effective daily checklist:
- Purge Before Use: Always give the wand a quick blast of steam into the drip tray. This clears out any condensed water sitting inside.
- Wipe Immediately After Use: Keep a dedicated, damp cloth handy. The second you've finished steaming, give the wand a thorough wipe from top to bottom.
- Purge After Use: Once it's wiped, give it another short blast of steam. This clears out any milk that might have snuck into the steam tip.
This "purge, wipe, purge" process takes less than ten seconds, but it's the single most powerful thing you can do for your machine's performance and hygiene.
Neglecting to clean the steam wand is like using a dirty pan to cook a fresh meal. No matter how good your ingredients are, the old, burnt residue will inevitably spoil the flavour of what you’re making.
Deeper Cleaning and Safety in Shared Spaces
Beyond the daily wipe-down, shared equipment like an office coffee machine needs a bit more love to keep it going strong. For a busy office, a weekly deep clean of the steam wand and any other milk components is a fantastic place to start. This usually involves soaking the steam tip in a specialised cleaning solution designed to dissolve any hardened milk proteins.
Safety is also a massive deal, especially in a communal area. The steam wand gets incredibly hot. Always use the handle on the milk pitcher and never, ever touch the wand with your bare hands. By creating a culture where everyone cleans up and is careful, the coffee station can be a safe, welcoming, and high-performing hub for the whole office to enjoy.
Your Milk Steaming Questions, Answered
As you get to grips with steaming milk, you’re bound to have a few questions. It’s all part of the process. Think of this as your go-to guide for those little queries that pop up when you're trying to perfect your technique in a busy office.
Every question is a step towards getting that consistently brilliant cup of coffee, so let's dive in.
How Do I Know When the Milk Is Hot Enough?
The sweet spot for steamed milk is between 60-65°C (140-150°F). In this range, the milk’s natural sugars are at their peak, giving you that rich, creamy flavour everyone loves. Go much hotter and you’ll scald it, which introduces a nasty burnt taste.
A thermometer is great for precision, but the classic barista method is all about touch. Place one hand flat against the side of your metal pitcher while you steam. As soon as it becomes too hot to comfortably keep your hand there for more than a second or two, it’s done. It’s a simple sensory cue that’s surprisingly accurate once you get the hang of it.
Why Is My Plant-Based Milk Not Frothing?
Ah, the eternal struggle. This is a common hurdle when you switch from dairy, and it all comes down to the different protein and fat structures in plant-based milks. If your oat, soya, or almond milk is falling flat, here are a few things to check.
- Look for the 'Barista Blend': Most good brands now offer a 'barista' version. These are specifically formulated with added proteins or stabilisers to help them behave more like dairy milk, making it much easier to create a stable, silky microfoam.
- Keep It Chilled: Just like cow's milk, always start with plant-based milk straight from the fridge. If it’s even slightly warm, it just won’t hold air properly.
- Tweak Your Technique: Alternative milks can be a bit less forgiving. You might find you need a slightly shorter stretching phase at the beginning to avoid creating big, airy bubbles that collapse later.
Remember, the goal is to work with the milk you're using, not against it. A small adjustment to your choice of milk or your technique can make all the difference.
Can I Re-Steam Milk That Has Cooled Down?
It’s tempting to re-steam leftover milk to cut down on waste, but honestly, it’s best to avoid it. When you reheat milk that’s already been steamed, you completely destroy its protein structure. What you’re left with is a flat, lifeless liquid that has a weird, cooked flavour.
For the best taste and that perfect velvety texture, always start fresh with cold milk for every single drink. It’s the only way to guarantee the sweet, creamy microfoam that makes a coffee truly special.
At Ue Coffee Roasters, we believe that exceptional coffee can completely transform the workplace. Our partnership with industry-leading machine brands and our curated selection of premium refreshments bring café-quality experiences directly to your office, boosting morale one perfect cup at a time. Discover our office coffee solutions and elevate your team's day.